Centos7如何升级openssl和openssh最新版
262人参与 • 2025-06-09 • SSL
1、事前准备
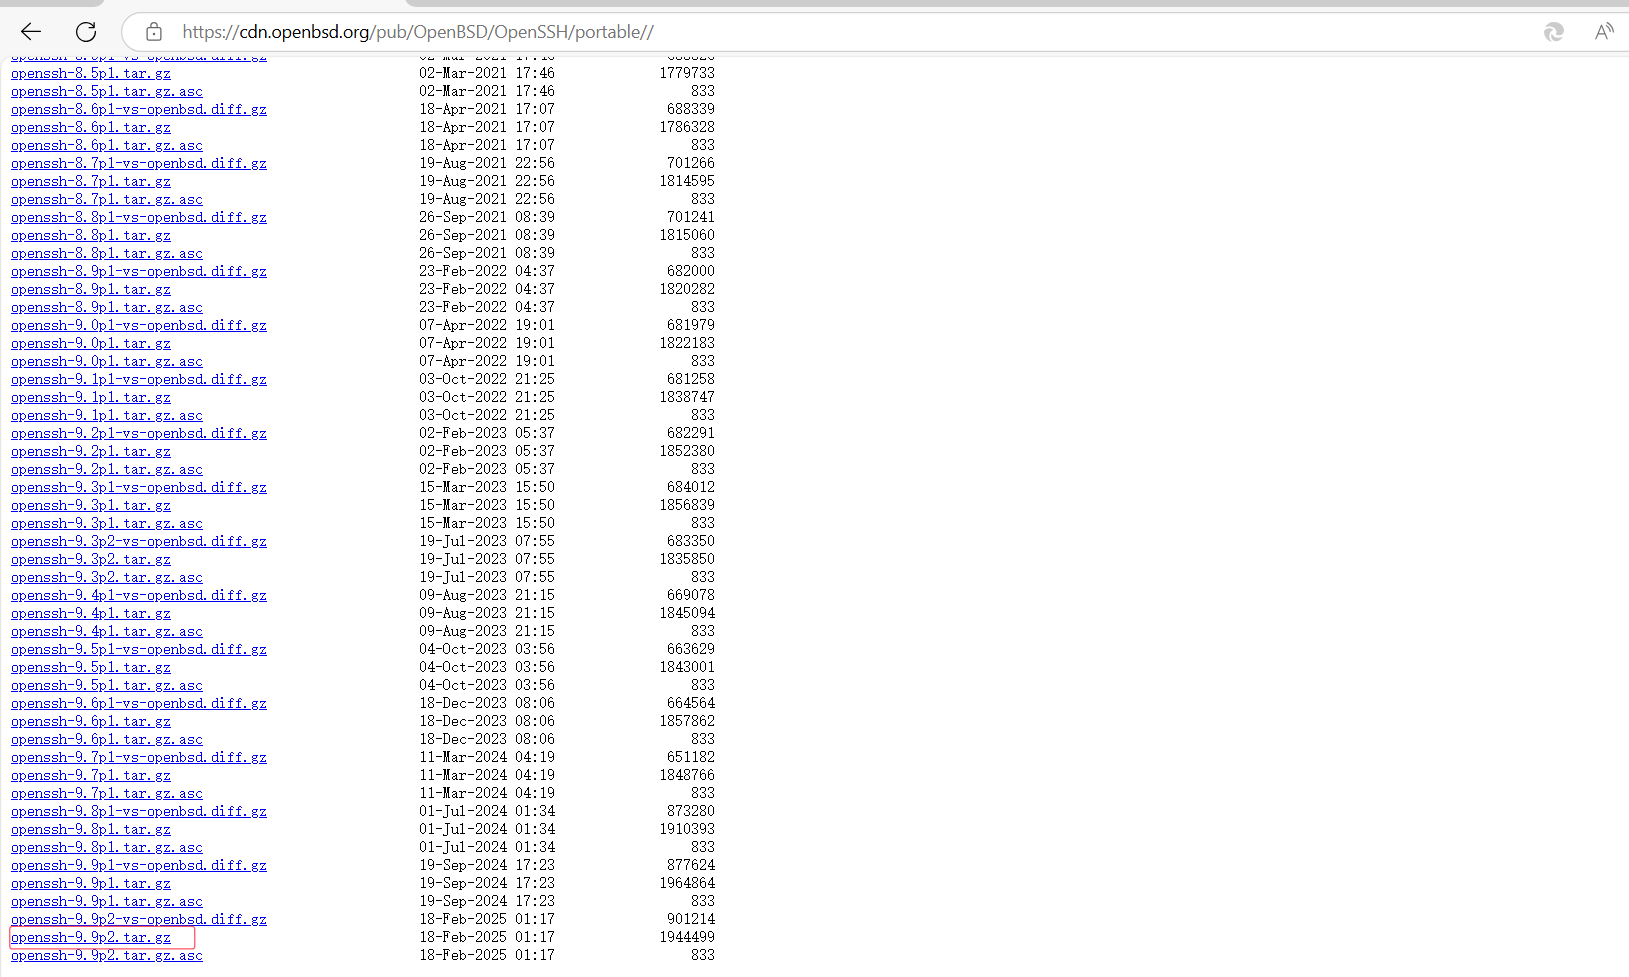
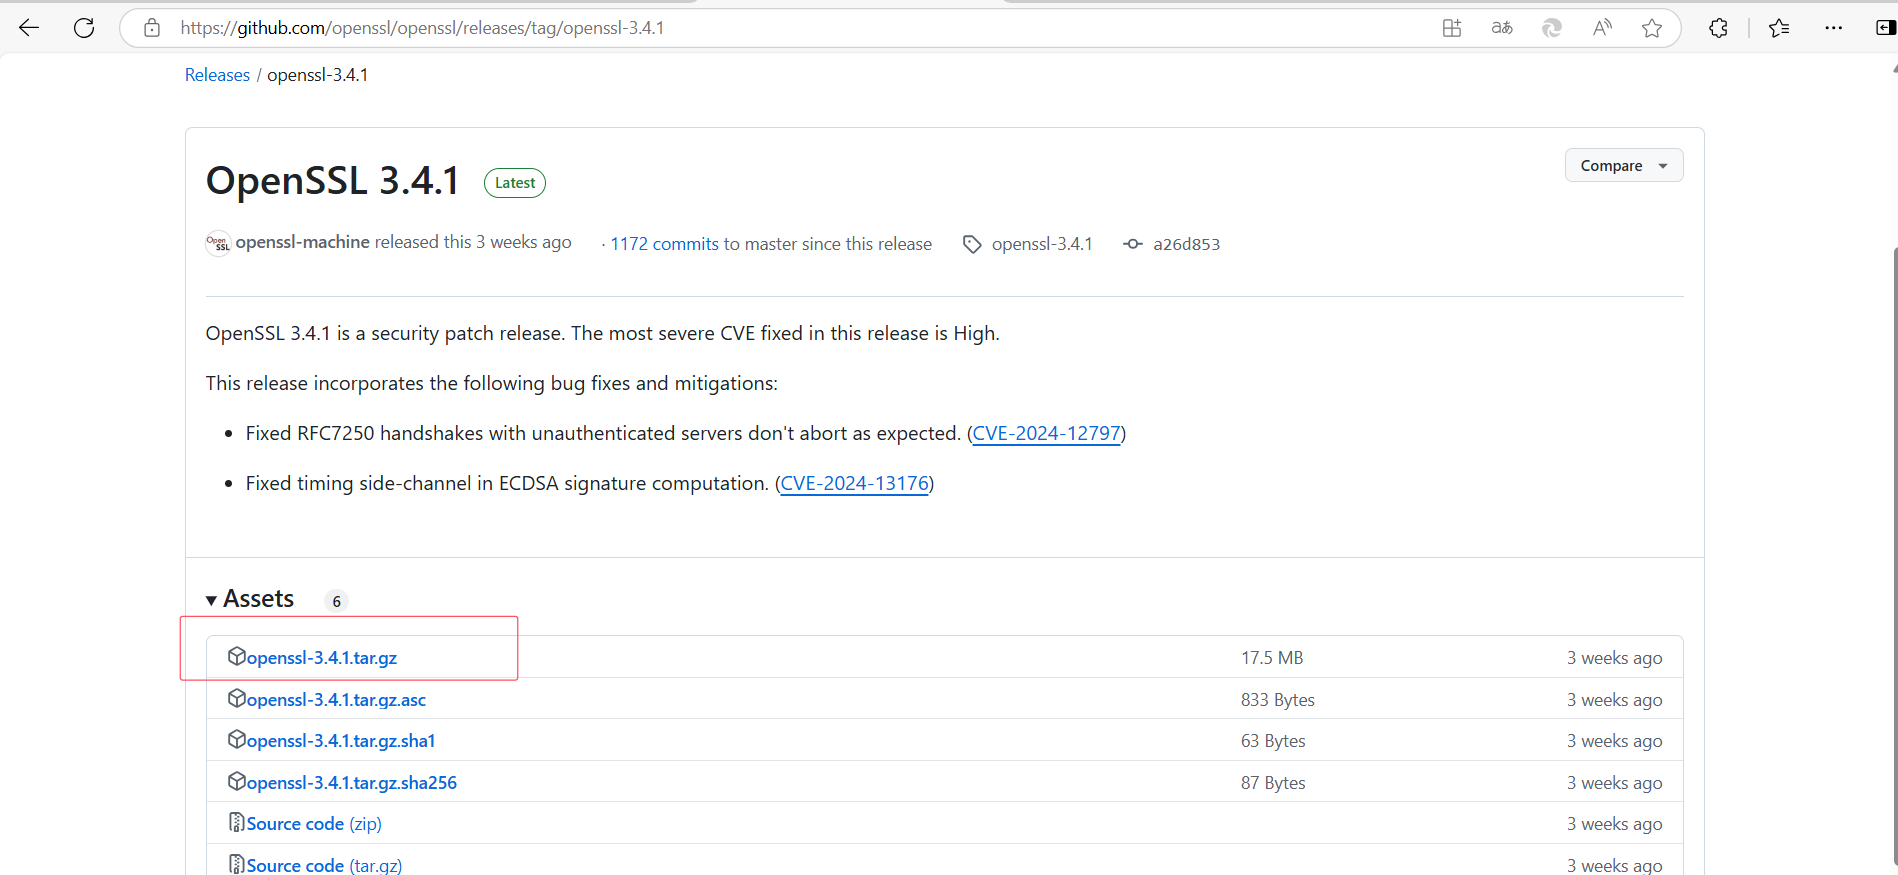
下载openssl3.4.1和openssh9.9p2压缩包上传到服务器
https://cdn.openbsd.org/pub/openbsd/openssh/portable//
release openssl 3.4.1 · openssl/openssl · github

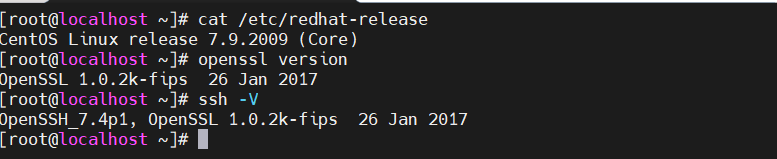
2、查看centos7、ssh以及openssl的版本信息
# 查看centos系统版本信息
cat /etc/redhat-release
# 查看openssl版本信息
openssl version
# 查看openssh的版本信息
ssh -v
3、安装依赖
yum -y install gcc pam-devel zlib-devel openssl-devel net-tools
yum install -y perl-ipc-cmd perl-data-dumper
4、安装openssl-3.4.1版本
(1)解压openssl-3.4.1压缩包
tar zxvf openssl-3.4.1.tar.gz -c /usr/local/
cd /usr/local/openssl-3.4.1/
mkdir /opt/openssl
(2)编译安装openssl-3.4.1
./config --prefix=/opt/openssl
make -j4 && make install   ###-j后面的数字为你的内核数
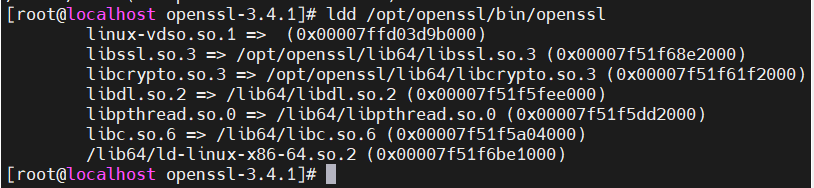
(3)更新lib文件
ldd /opt/openssl/bin/openssl
echo "/opt/openssl/lib" >> /etc/ld.so.conf
echo "/opt/openssl/lib64" >> /etc/ld.so.conf
echo "/usr/local/openssl-3.4.1" >> /etc/ld.so.conf
ldconfig -v
ldd /opt/openssl/bin/openssl
(4)更新bin文件
# 查看旧版本的openssl命令路径
which openssl
# 重命名为openssl.old
mv /usr/bin/openssl /usr/bin/openssl.old   #重命名openssl文件
# 使用软连接的方式更新openssl命令
ln -s /opt/openssl/bin/openssl /usr//bin/openssl
# openssl命令查看版本呢
openssl version

5、编译安装openssh9.9p2
(1)解压缩openssh9.9p2压缩包
# 卸载openssh的rpm包
for i in $(rpm -qa | grep openssh);do rpm -e $i --nodeps;done
# 解压缩openssh9.7p1包到目标目录
cd ~
tar zvxf openssh-9.9p2.tar.gz -c /usr/local/
# 进入openssh9.7p1的源码目录
cd /usr/local/openssh-9.9p2/
# 安装前查看一下安装文件install(建议看一下)
more install
(2)编译安装openssh9.9p2
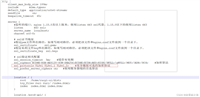
# 配置编译和安装过程,"--prefix=" 配置安装目录,"--sysconfdir=" 配置文件路径,"--with-ssl-dir=" openssl的安装路径
./configure --prefix=/usr/local/openssh --sysconfdir=/etc/ssh --with-pam --with-ssl-dir=/opt/openssl --with-md5-passwords --mandir=/usr/share/man --with-zlib=/usr/local/zlib --without-hardening

chmod 600 /etc/ssh/ssh_host_*_key
chown root:root /etc/ssh/ssh_host_*_key

make -j4 && make install
(3)复制并修改启动sshd.init脚本
# 从源码目录下复制sshd.init到/etc/init.d/
cp /usr/local/openssh-9.9p2/contrib/redhat/sshd.init /etc/init.d/

## 查看并修改sshd的新路径,将新的openssh安装路径更新
cat /etc/init.d/sshd.init | grep sshd
sed -i "s/sshd=\/usr\/sbin\/sshd/sshd=\/usr\/local\/openssh\/sbin\/sshd/g" /etc/init.d/sshd.init
cat /etc/init.d/sshd.init | grep sshd

## 查看并修改ssh-keygen的新路径,将新的ssh-keygen安装路径更新
cat -n /etc/init.d/sshd.init | grep ssh-keygen
sed -i "s#/usr/bin/ssh-keygen -a#/usr/local/openssh/bin/ssh-keygen -a#g" /etc/init.d/sshd.init
cat -n /etc/init.d/sshd.init | grep ssh-keygen


(4)修改配置文件(sshd_config)
# 开启允许x11转发
echo 'x11forwarding yes' >> /etc/ssh/sshd_config
# 开启允许密码验证
echo "passwordauthentication yes" >> /etc/ssh/sshd_config
(5)启动openssh,并设置开机启动
# 复制ssh的相关命令
cp -arp /usr/local/openssh/bin/* /usr/bin/
# 启动sshd服务
/etc/init.d/sshd.init start
# 查看版本
ssh -v
# 添加开机启动
chmod +x /etc/rc.d/rc.local
echo "/etc/init.d/sshd.init start" >> /etc/rc.d/rc.local
systemctl enable --now rc-local
(6)测试openssh连接
使用ssh协议连接centos7,检查openssh9.9p2服务
重启系统后ssh协议登录centos7,检查openssh9.9p2自动启动
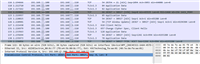
6、检查系统、openssl和openssh的版本信息

总结
以上为个人经验,希望能给大家一个参考,也希望大家多多支持代码网。
赞 (0)
您想发表意见!!点此发布评论


发表评论