【cocos 2d微信小游戏开发教程】基础使用笔记分享(一)
91人参与 • 2024-08-02 • 微信
-
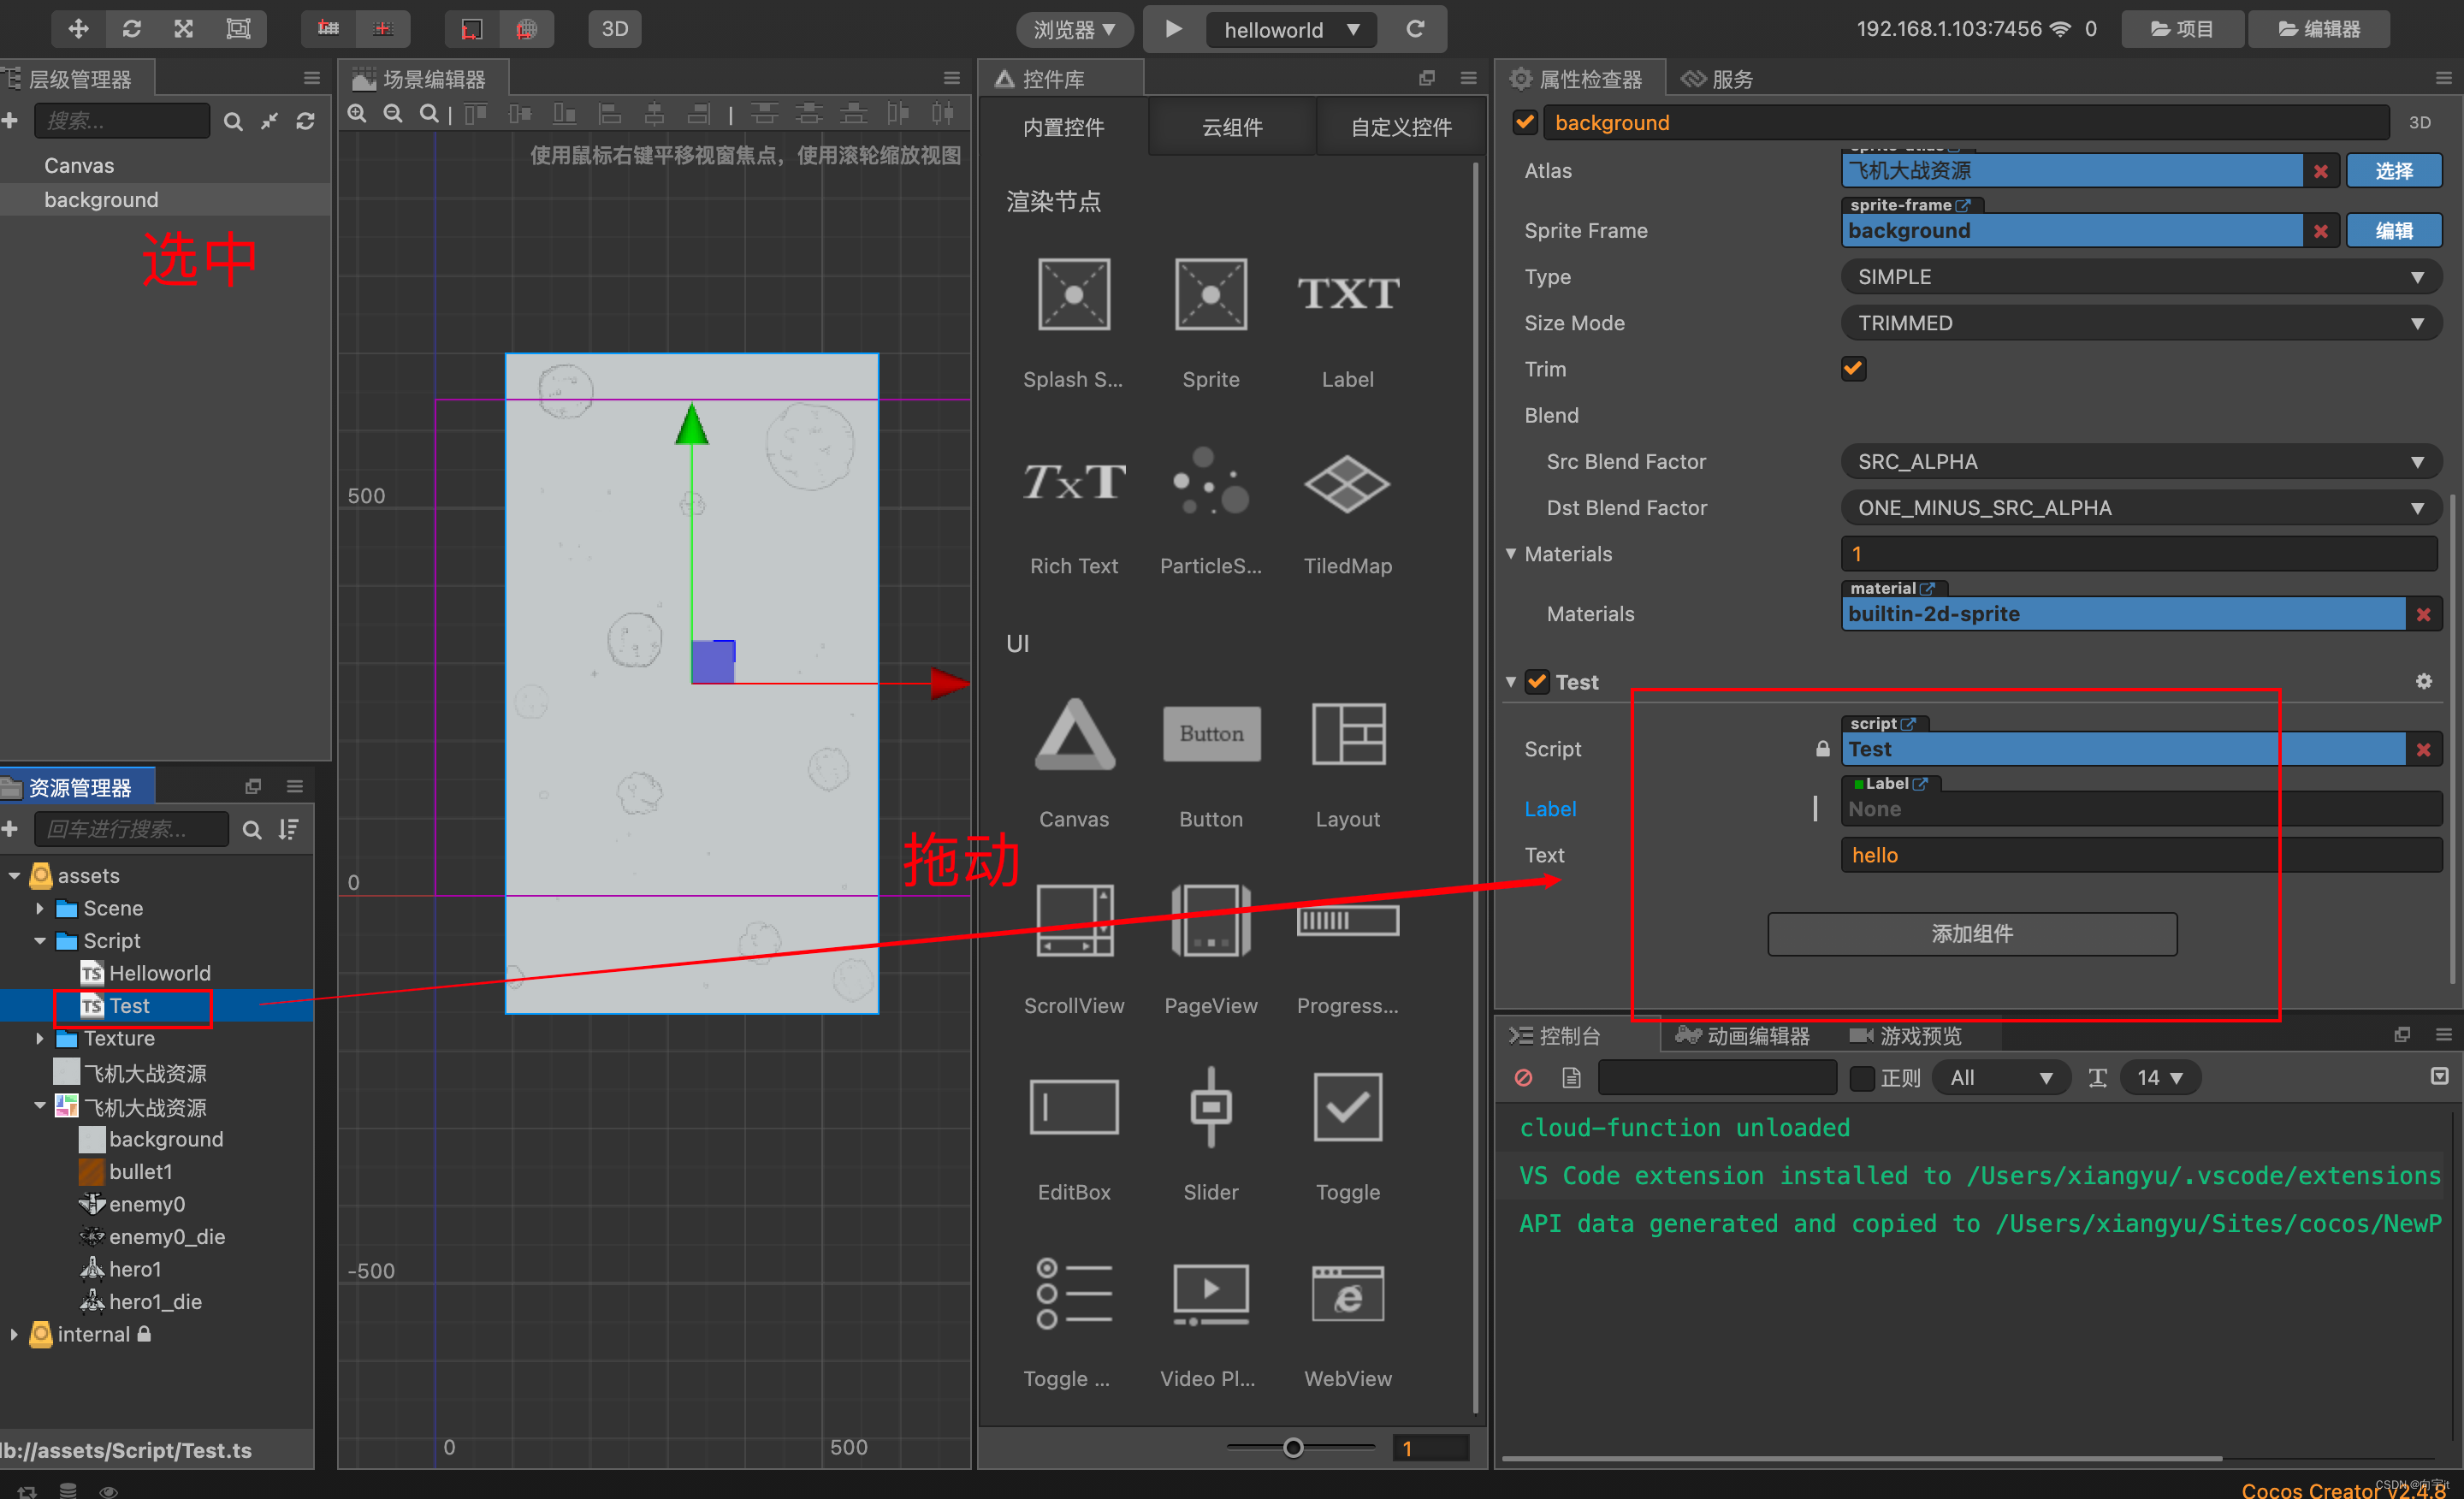
挂载脚步
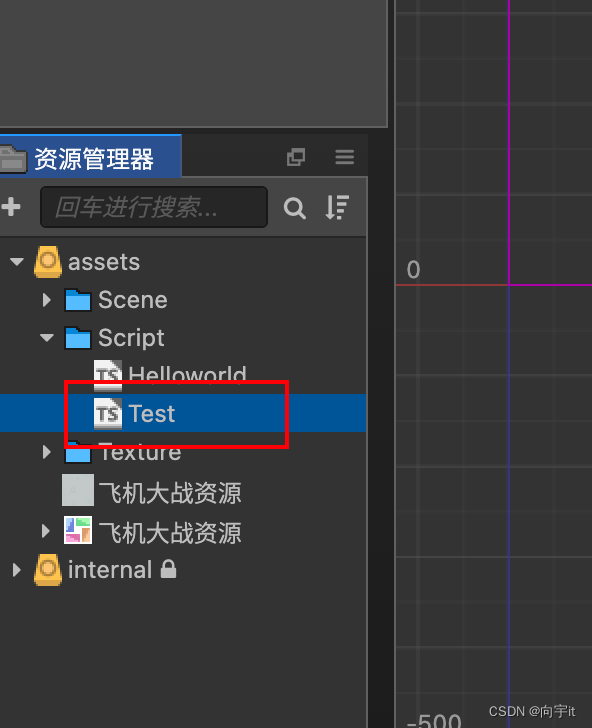
右键新建脚本
-
脚本解释
把类名和脚本名改为一致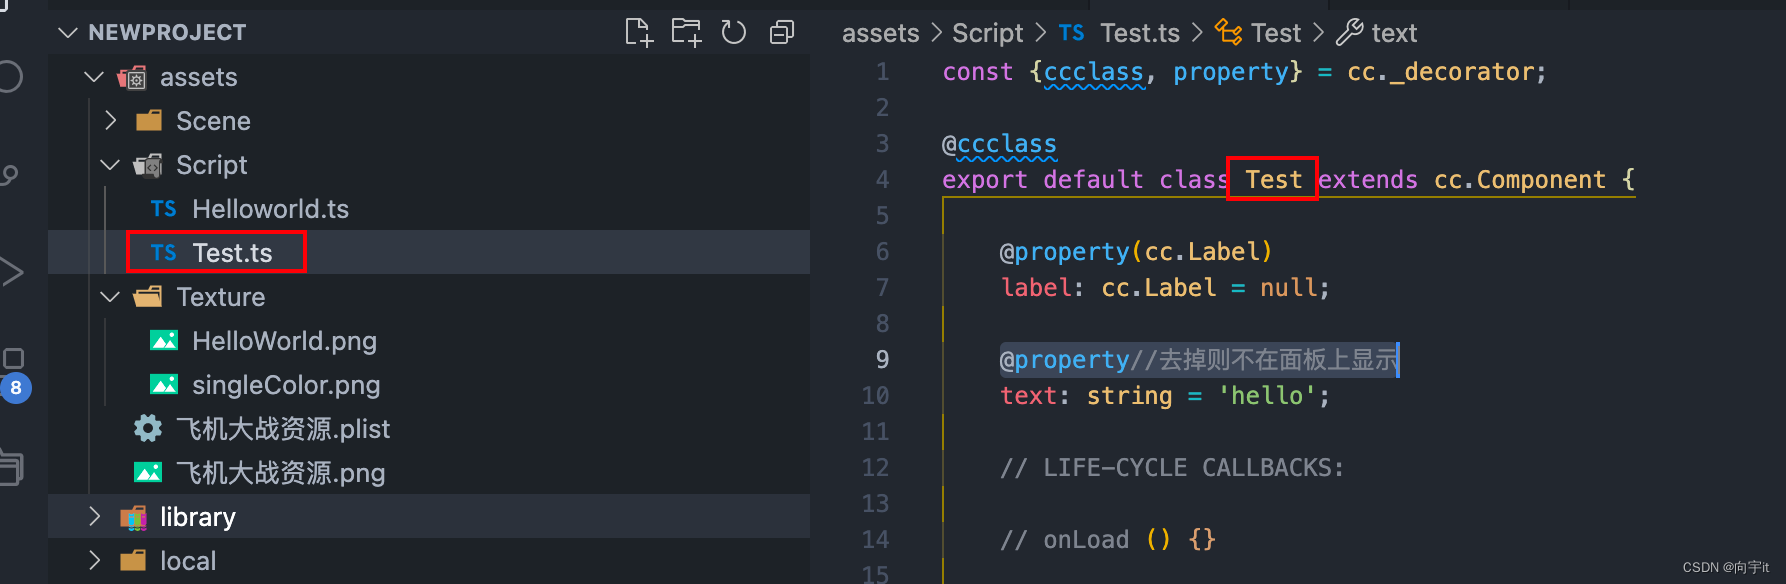
允许其他脚本调用export defaulttext优先使用面板的值,property去掉则不在面板上显示
@property//去掉则不在面板上显示
text: string = 'hello';
打印输出
console.debug('调用'); -
生命周期函数解释
//初始化调用,第一个被调用 onload () { console.debug('调用'); } //启用脚本调用,在onload和start之间执行,会多次调用 onenable() { } //初始化调用,第二个被调用 start () { } //每帧开始调用,dt执行时间 update (dt) {} //每帧结束调用 lateupdate(dt) { } //禁用脚本调用 ondisable() { } //销毁时调用 ondestroy() { } -
节点的使用
start () { //获取子字节点 let a = this.node.children[0]; //根据子节点名称获取节点 this.node.getchildbyname('abc'); //通过路径查找节点 cc.find('canvas/main camera') //获取父节点 this.node.getparent(); //设置一个父节点 this.node.setparent(a); //移除所有子节点 this.node.removeallchildren(); //移除某个节点 this.node.removechild(a); //从父节点移除掉,我删我自己 this.node.removefromparent(); //获取位置 this.node.x; this.node.y //设置位置 this.node.setposition(3,4); this.node.setposition(cc.v2(3,4)); //旋转 this.node.rotation; //缩放 this.node.scale; //锚点 this.node.anchorx; //设置颜色 this.node.color = cc.color.red; //节点开关 this.node.active = false; //组件开关 this.enabled = false; //按类型获取组件(填写组件类型) let sprite = this.getcomponent(cc.sprite); //从子集按类型获取组件 this.getcomponentinchildren(cc.sprite); //创建节点 let node = new cc.node("new"); //添加组件(创建一个精灵组件) node.addcomponent(cc.sprite); } -
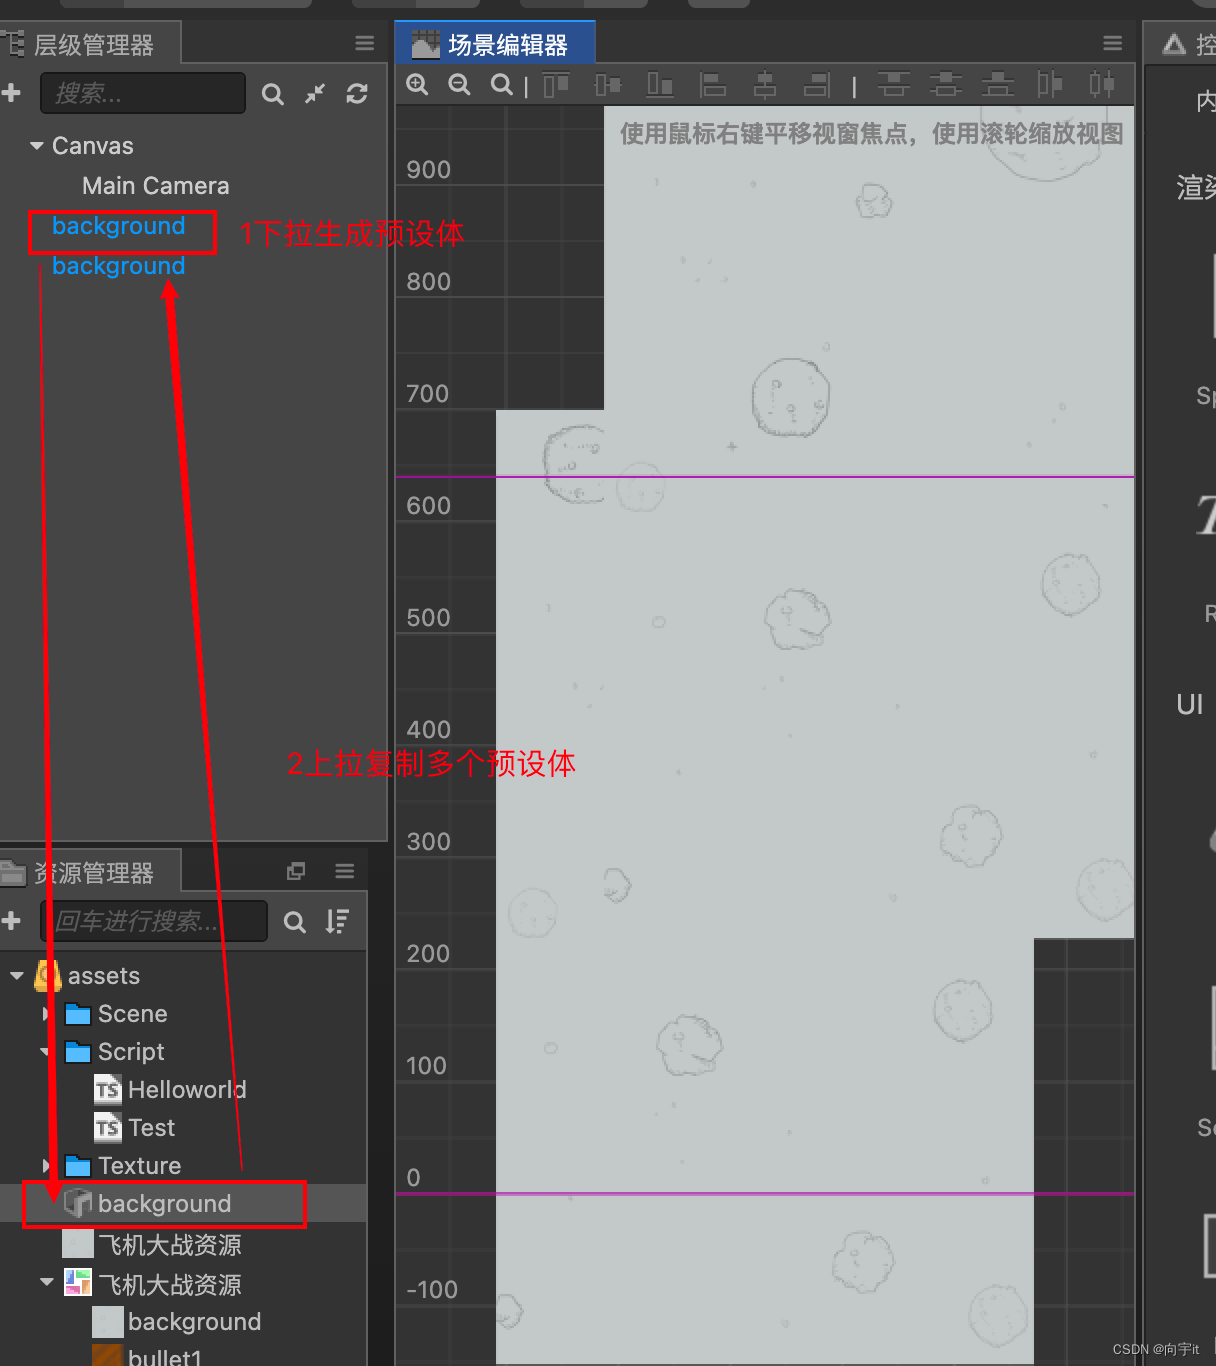
预设体
-
拖拽新增预设体
-
用代码渲染预设体
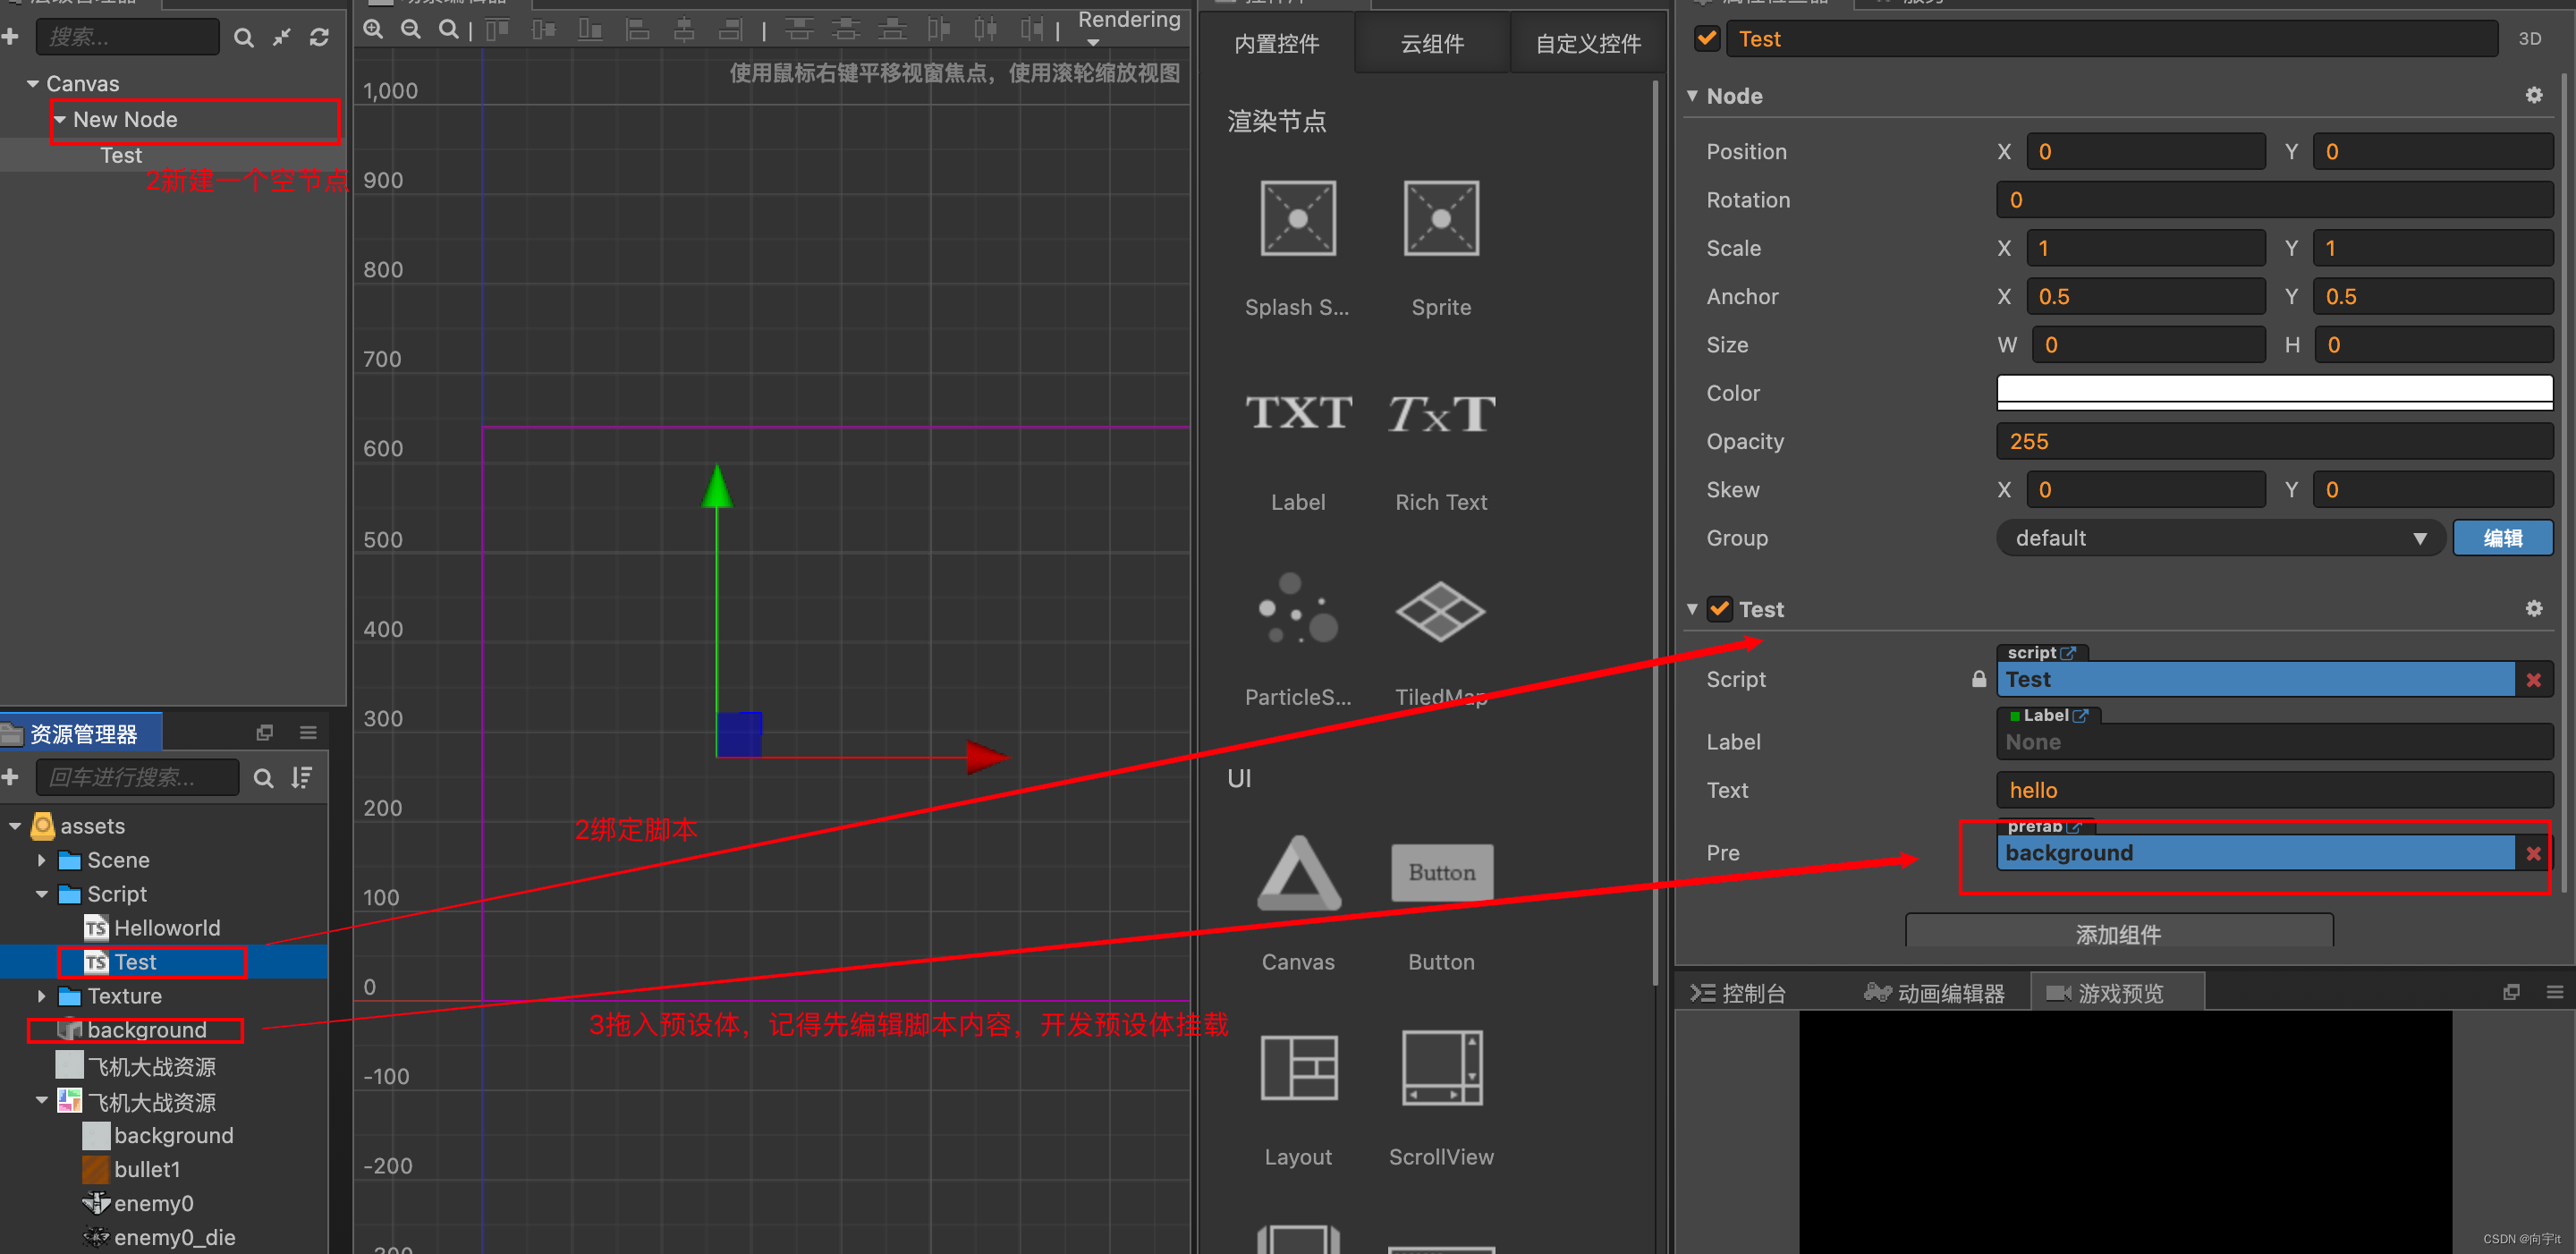
脚本内容@ccclass export default class test extends cc.component { @property(cc.label) label: cc.label = null; @property//去掉则不在面板上显示 text: string = 'hello'; //定义预设体 @property(cc.prefab) pre:cc.prefab = null; // life-cycle callbacks: //初始化调用,第一个被调用 onload () { console.debug('调用'); //实例化预设体 let node = cc.instantiate(this.pre) //设置父节点,不设置父节点不会显示 node.setparent(this.node); } }- 资源动态加载(属于异步加载,不影响主体程序代码的运行)
-
新建assets/resource资源文件,
名称一定不能错
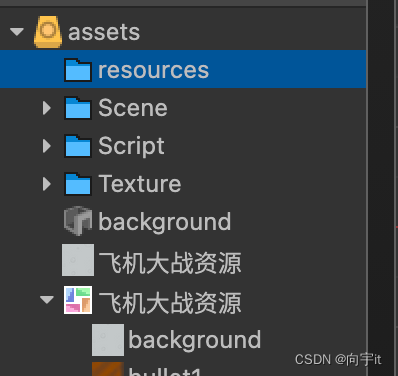
-
将要加载的图片资源文件放在resources里,
记得改为精灵类型
-
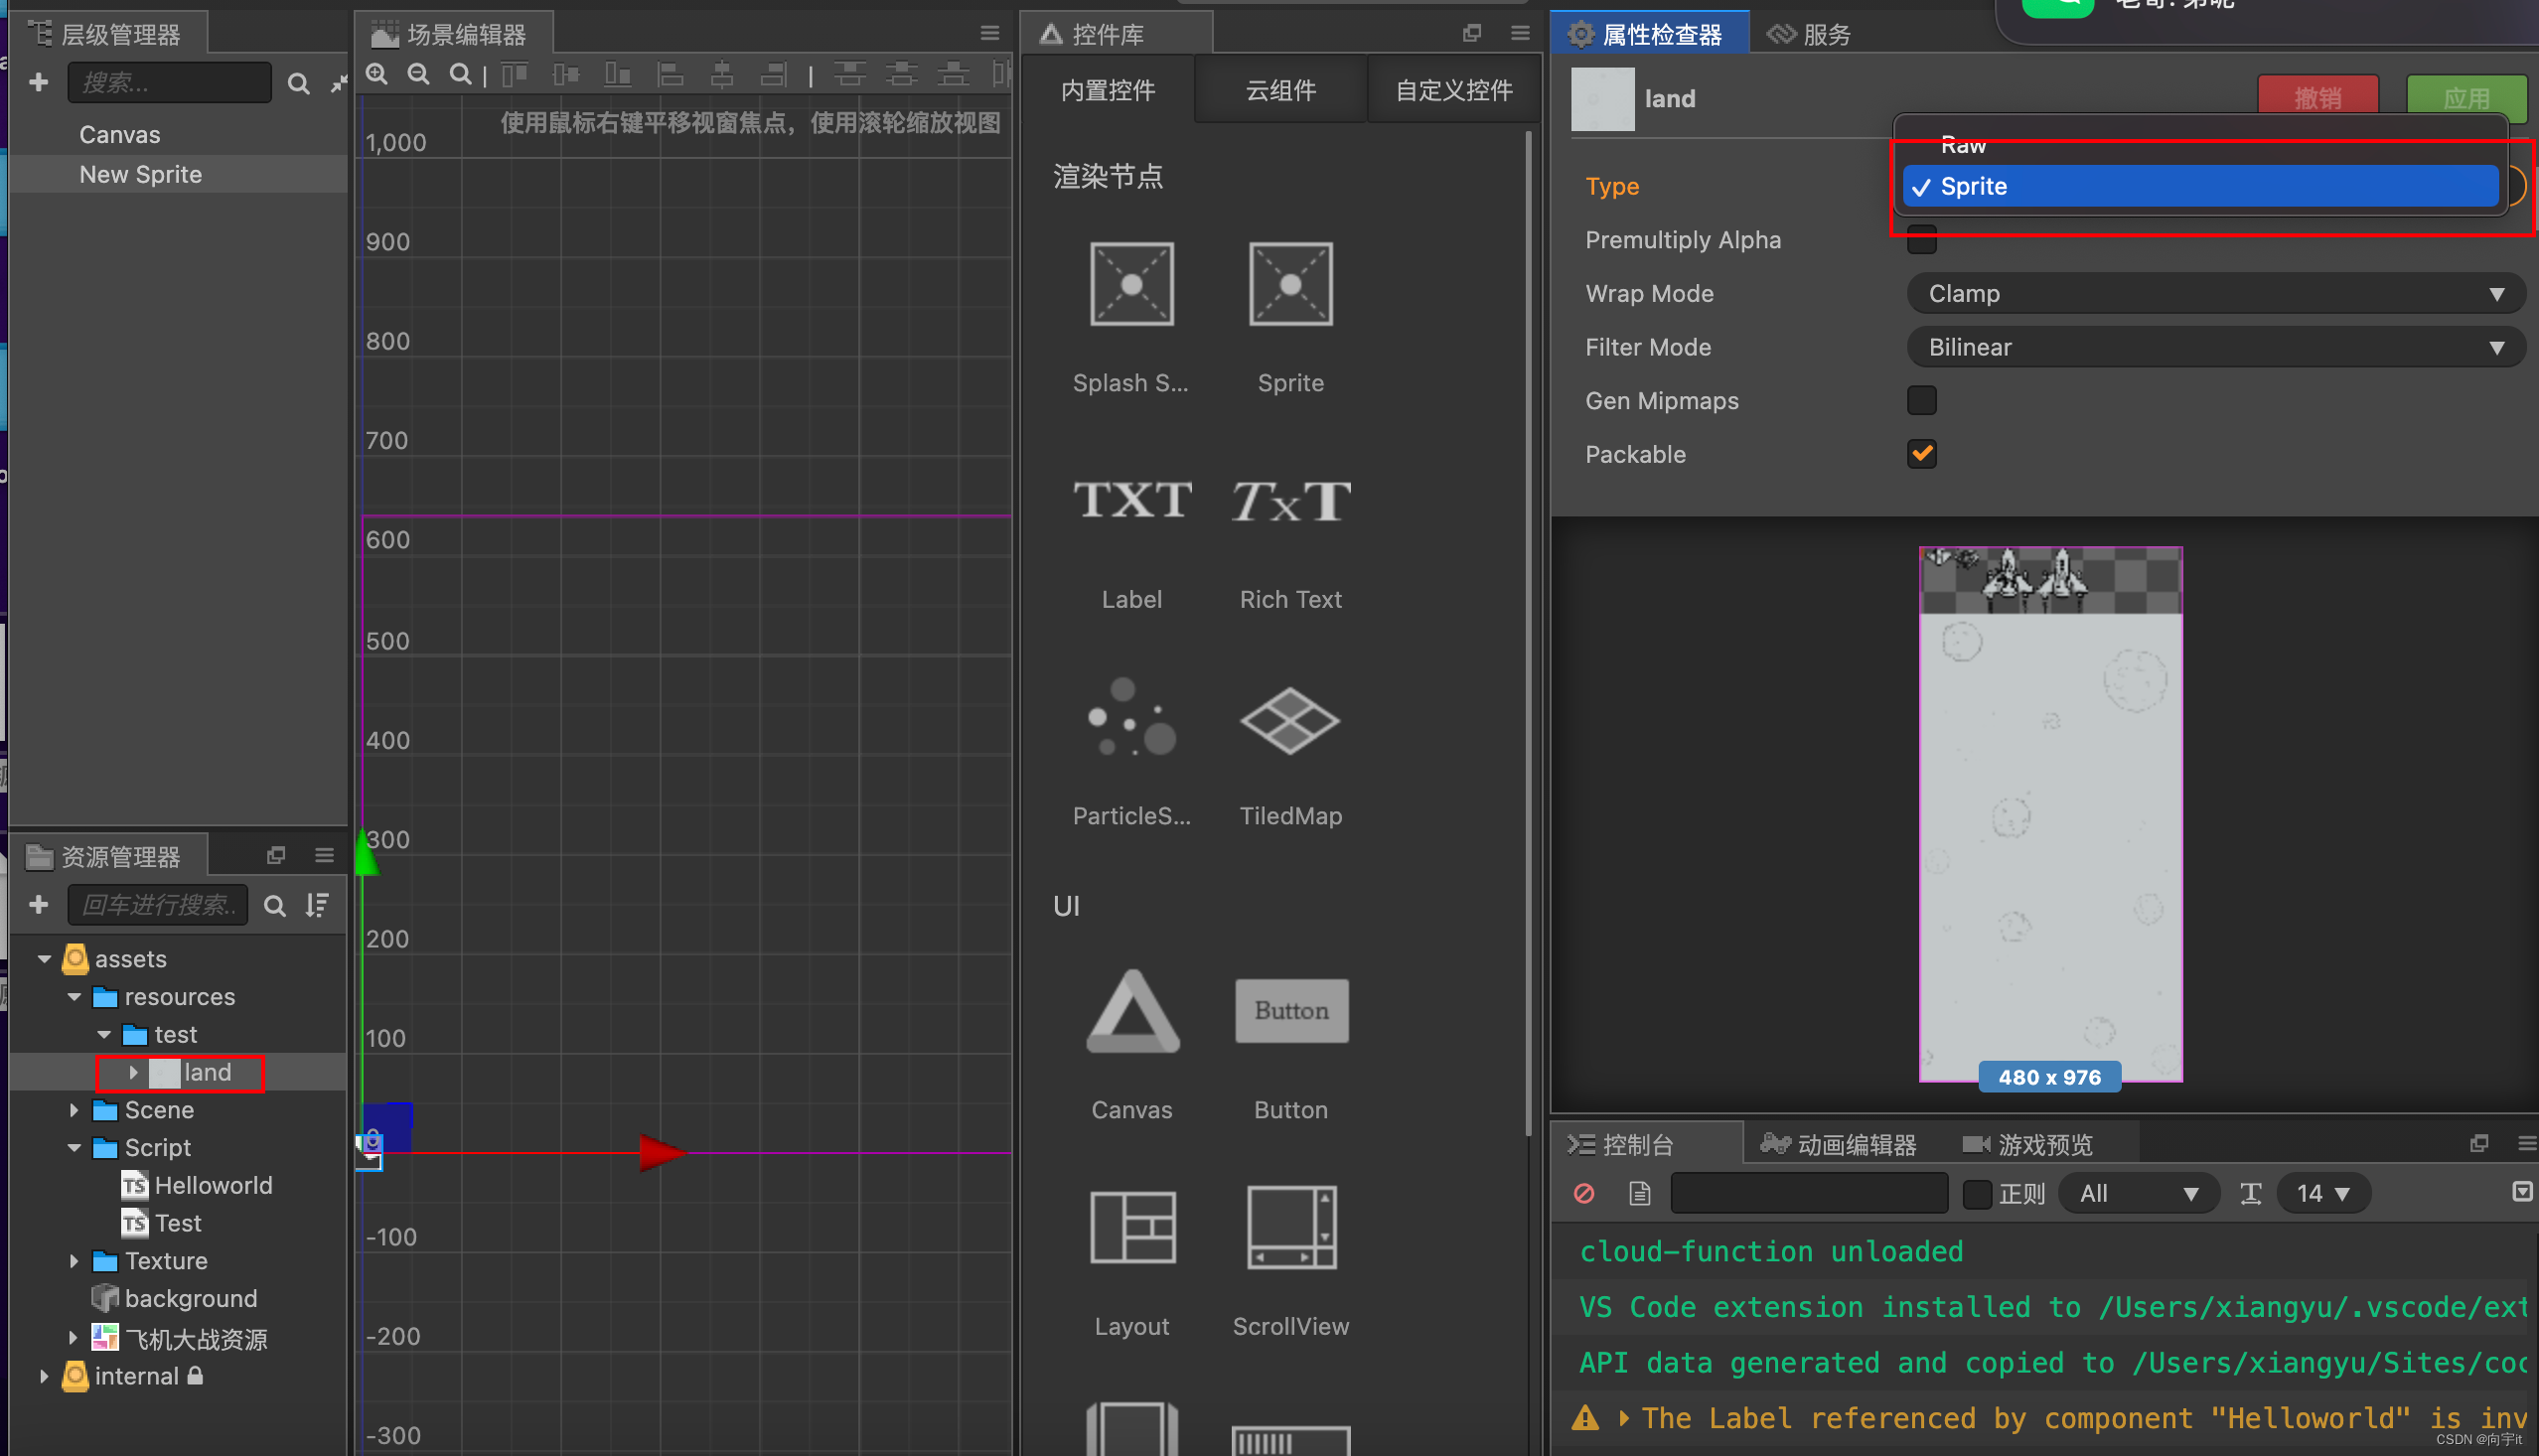
编写脚本实现动态加载
start () { var that = this; //旧的方式,2.4以上已经不推荐使用,可能之后会废除,不建议使用 cc.loader.loadres("test/land", cc.spriteframe, function(err, sp:cc.spriteframe){ that.getcomponent(cc.sprite).spriteframe = sp; }); //新版本使用 cc.resources.load("test/land", cc.spriteframe, function(err, sp:cc.spriteframe) { that.getcomponent(cc.sprite).spriteframe = sp; }); //加载远程图片 cc.loader.load({url:item.avatarurl,type:'jpg'},function(err,tex){ that.getcomponent(cc.sprite).spriteframe = new cc.spriteframe(tex); }); } -
动态加载某个图集
//动态加载某个图集
cc.resources.load("test/land1", cc.spriteatlas, function(err, atlas:cc.spriteatlas){
    that.getcomponent(cc.sprite).spriteframe = atlas.getspriteframe("hero1");
});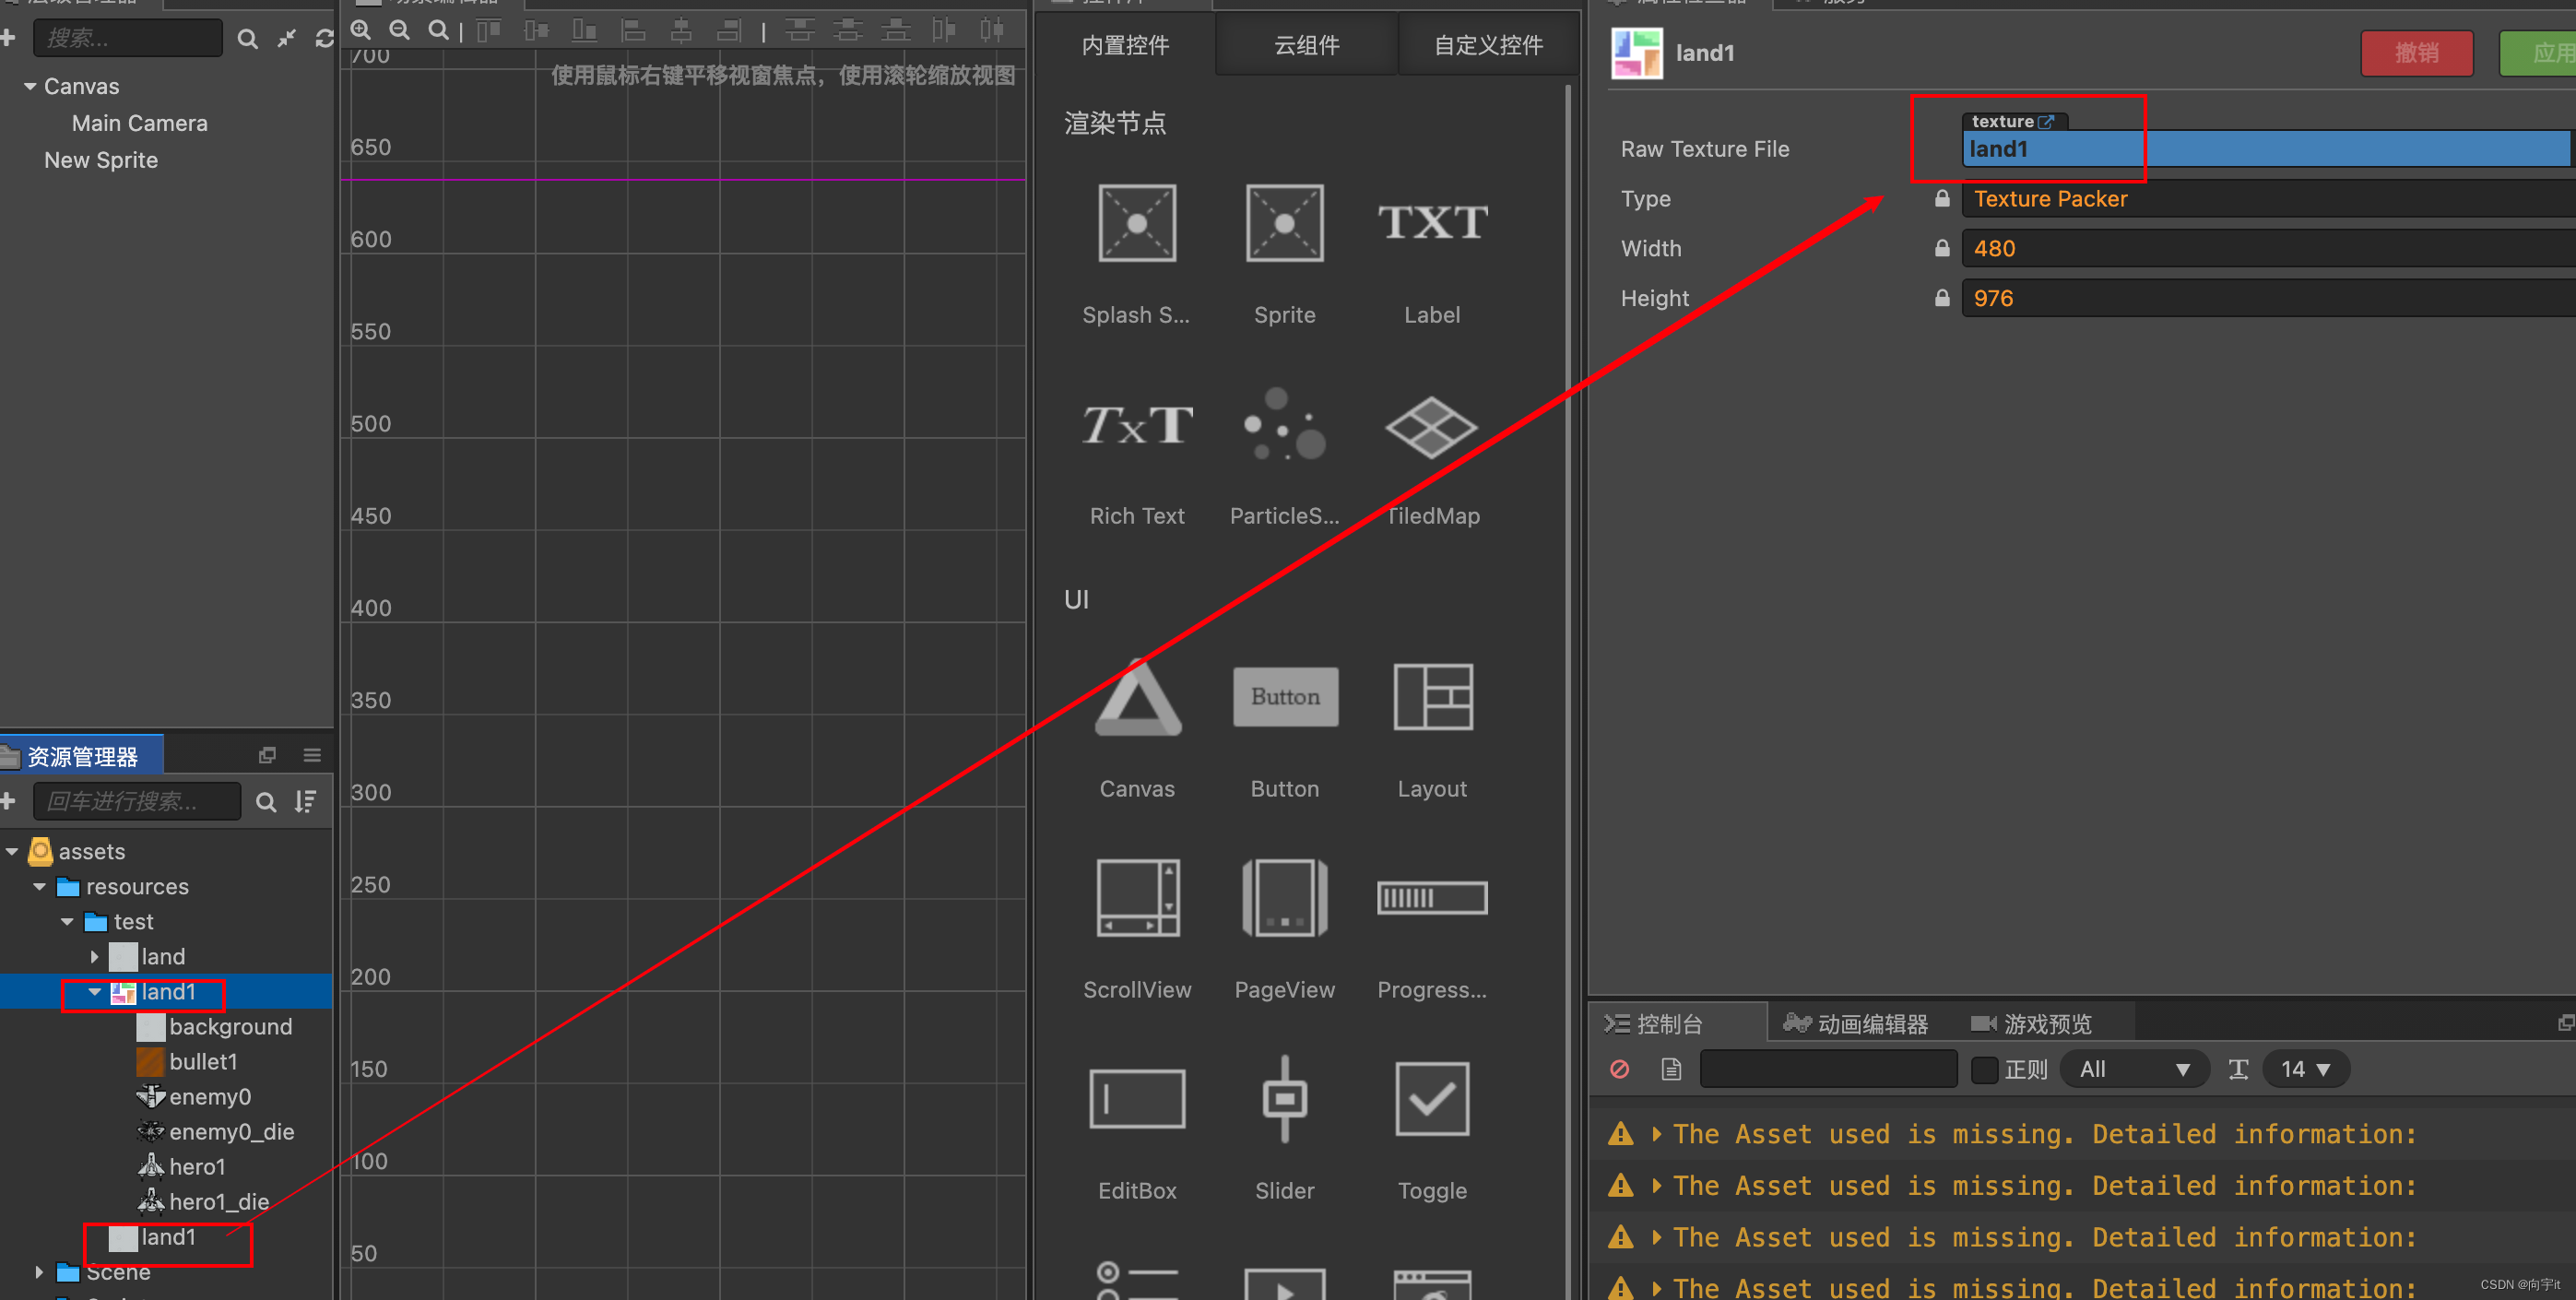
- 场景
-
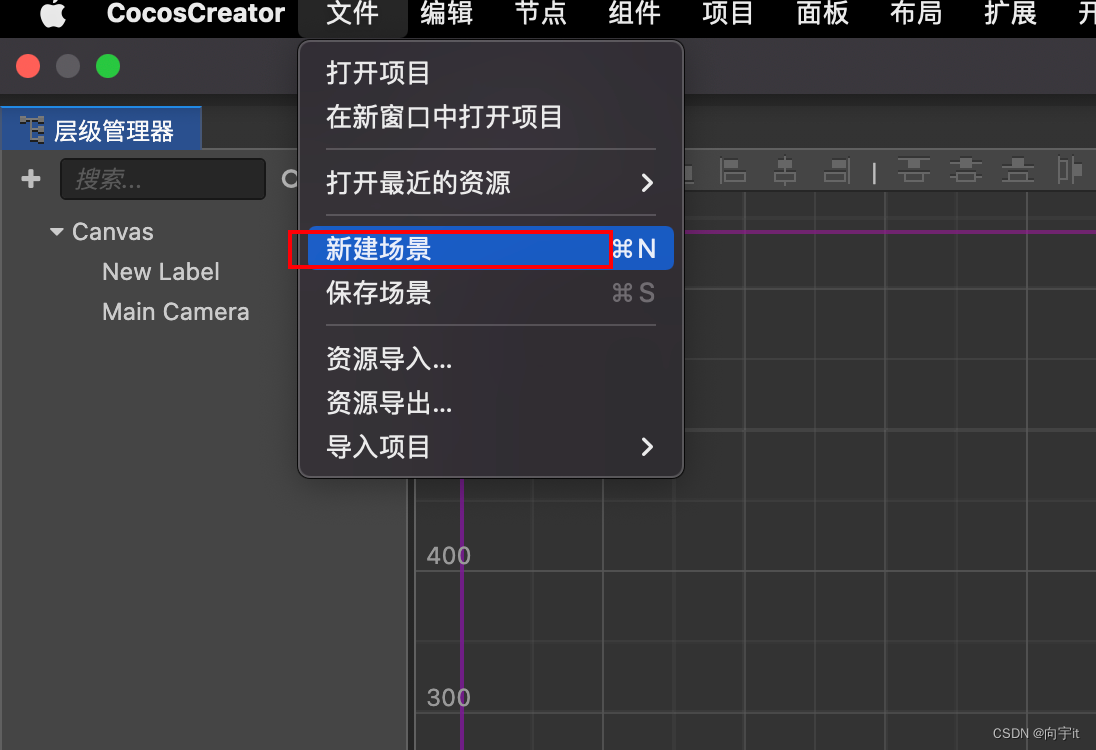
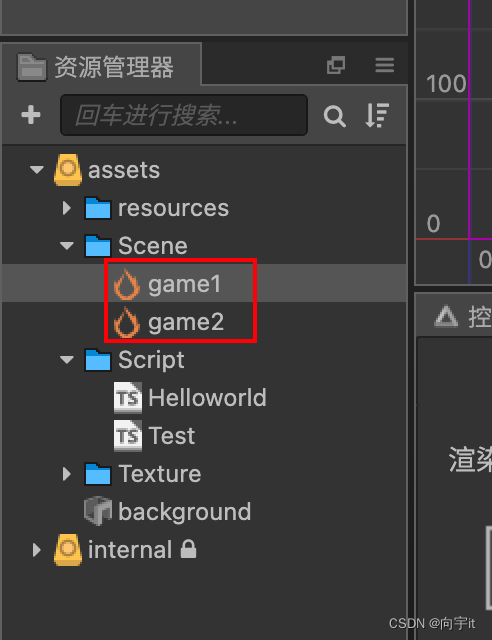
新建场景
-
ctrl+s保存场景为game1,game2,放在assets/scene目录下,双击可打开切换
-
加载场景,切换场景
//直接切换场景 cc.director.loadscene("game2", function(){ //当前已经加载到新的场景了 }); //预加载,用在一些比较大的场景时 cc.director.preloadscene("game2",function(){ //这个场景已经加载到内存了,但是还没有用 cc.director.loadscene("game2"); }) -
常驻节点,比如游戏游玩时长的统计
//添加常驻的节点,所有场景都有,换场景也不会销毁,this.node 表示当前节点
cc.game.addpersistrootnode(this.node);

//移除常驻节点
cc.game.removepersistrootnode(this.node)
-
鼠标事件和触摸事件
//绑定事件
this.node.on(cc.node.eventtype.mouse_down, function(event){
   console.debug('鼠标按下啦!!');

   //获取当前点击的位置
   event.getlocation()
   event.getlocationx()
   event.getlocationy()

   if(event.getbutton() == cc.event.eventmouse.button_right){
       console.debug('点击了鼠标右键!!');
   }
})

//取消绑定事件
this.node.off(cc.node.eventtype.mouse_down,function(event){
	//用法同上
});

//触摸事件
this.node.on(cc.node.eventtype.mouse_down, function(event){
    //按触摸id判断有几个手指
    console.debug('触摸' + event.getid());
})
鼠标事件在桌面平台才会触发,系统提供的事件类型如下:
枚举对象定义 对应的事件名 事件触发的时机 cc.node.eventtype.mouse_down ‘mousedown’ 当鼠标在目标节点区域按下时触发一次 cc.node.eventtype.mouse_enter ‘mouseenter’ 当鼠标移入目标节点区域时,不论是否按下 cc.node.eventtype.mouse_move ‘mousemove’ 当鼠标在目标节点在目标节点区域中移动时,不论是否按下 cc.node.eventtype.mouse_leave ‘mouseleave’ 当鼠标移出目标节点区域时,不论是否按下 cc.node.eventtype.mouse_up ‘mouseup’ 当鼠标从按下状态松开时触发一次 cc.node.eventtype.mouse_wheel ‘mousewheel’ 当鼠标滚轮滚动时 鼠标事件(cc.event.eventmouse)的重要 api 如下(cc.event 标准事件 api 之外):
函数名 返回值类型 意义 getscrolly number 获取滚轮滚动的 y 轴距离,只有滚动时才有效 getlocation object 获取鼠标位置对象,对象包含 x 和 y 属性 getlocationx number 获取鼠标的 x 轴位置 getlocationy number 获取鼠标的 y 轴位置 getpreviouslocation object 获取鼠标事件上次触发时的位置对象,对象包含 x 和 y 属性 getdelta object 获取鼠标距离上一次事件移动的距离对象,对象包含 x 和 y 属性 getbutton number cc.event.eventmouse.button_left 或 cc.event.eventmouse.button_right 或 cc.event.eventmouse.button_middle 触摸事件类型和事件对象
触摸事件在移动平台和桌面平台都会触发,这样做的目的是为了更好得服务开发者在桌面平台调试,只需要监听触摸事件即可同时响应移动平台的触摸事件和桌面端的鼠标事件。系统提供的触摸事件类型如下:枚举对象定义 对应的事件名 事件触发的时机 cc.node.eventtype.touch_start ‘touchstart’ 当手指触点落在目标节点区域内时 cc.node.eventtype.touch_move ‘touchmove’ 当手指在屏幕上目标节点区域内移动时 cc.node.eventtype.touch_end ‘touchend’ 当手指在目标节点区域内离开屏幕时 cc.node.eventtype.touch_cancel ‘touchcancel’ 当手指在目标节点区域外离开屏幕时 触摸事件(cc.event.eventtouch)的重要 api 如下(cc.event 标准事件 api 之外):
api名 类型 意义 touch cc.touch 与当前事件关联的触点对象 getid number 获取触点的 id,用于多点触摸的逻辑判断 getlocation object 获取触点位置对象,对象包含 x 和 y 属性 getlocationx number 获取触点的 x 轴位置 getlocationy number 获取触点的 y 轴位置 getpreviouslocation object 获取触点上一次触发事件时的位置对象,对象包含 x 和 y 属性 getstartlocation object 获取触点初始时的位置对象,对象包含 x 和 y 属性 getdelta object 获取触点距离上一次事件移动的距离对象,对象包含 x 和 y 属性 -
键盘事件
/* * key_down:按下 * key_up:松开 */ cc.systemevent.on(cc.systemevent.eventtype.key_down, function(event){ if(event.keycode == cc.macro.key.q){ console.debug('你按下了q键!!'); } }) -
自定义事件
let that = this; //触摸事件 this.node.on(cc.node.eventtype.mouse_down, function(event){ //触发自定义事件,第一种 that.node.emit('myevent'); //触发自定义事件,第二种,true控制开启事件冒泡 that.node.dispatchevent(new cc.event.eventcustom("myevent", true)); }) //监听自定义事件 this.node.on('myevent', function(event){ console.debug('自定义事件'); }) -
碰撞检测
添加碰撞组件,支持三种类型,分别是方形,圆形,多边形,勾选editing可进行拖动编辑
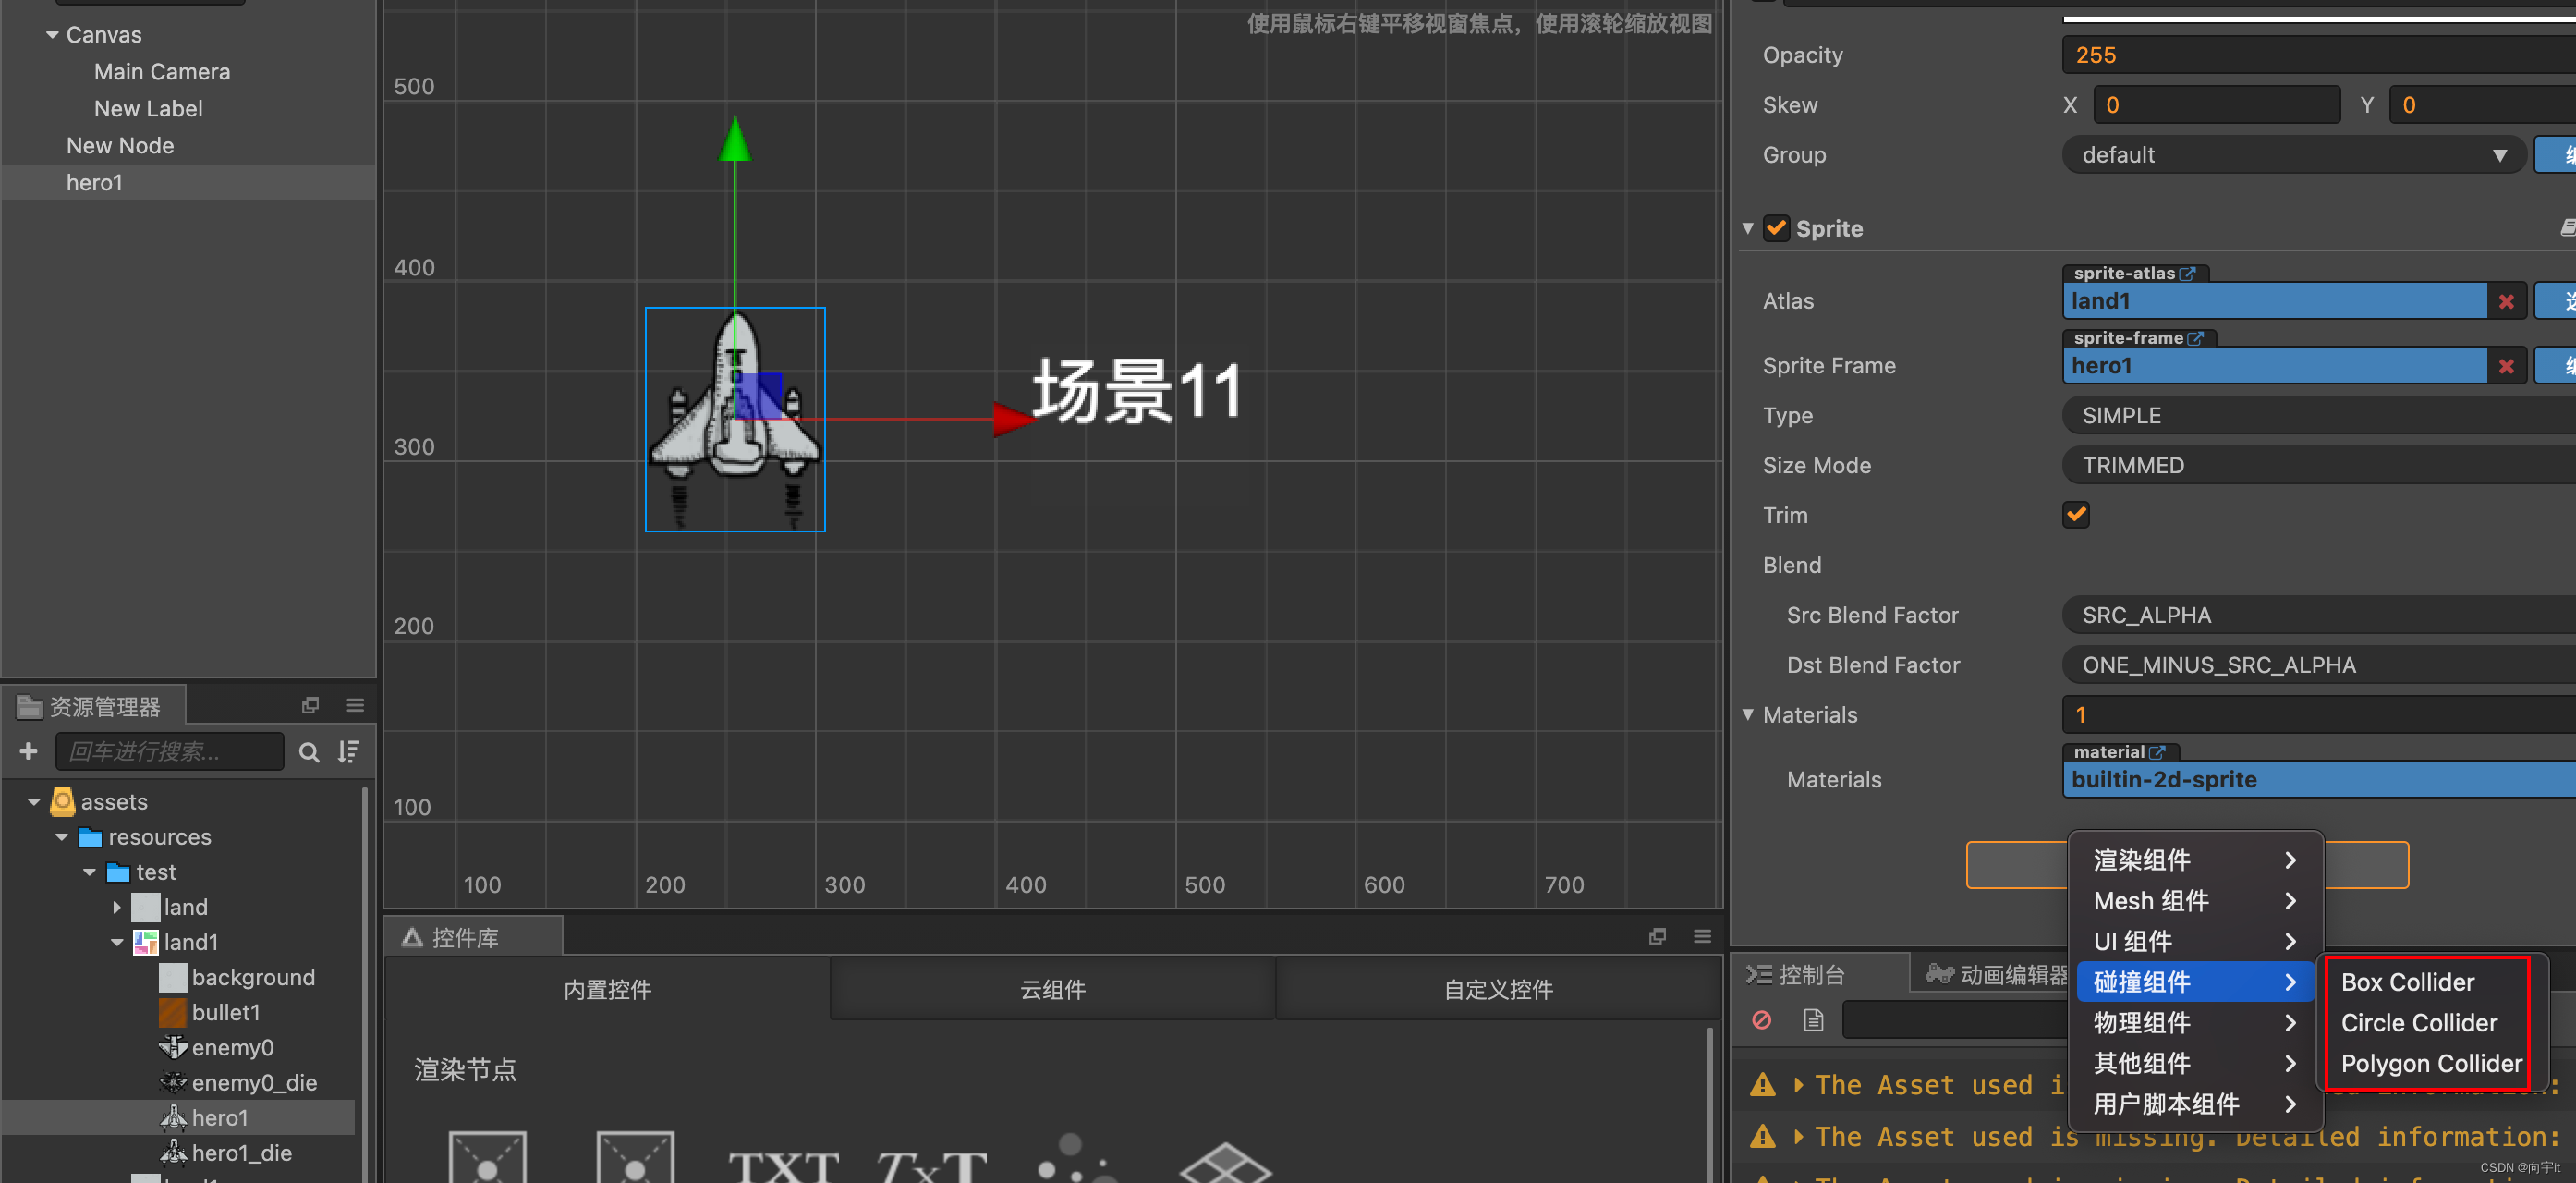
开启碰撞检测//初始化调用 start () { //开启碰撞检测 cc.director.getcollisionmanager().enabled = true; } /** * 当碰撞产生的时候调用 * @param {collider} other 产生碰撞的另一个碰撞组件 * @param {collider} self 产生碰撞的自身的碰撞组件 */ oncollisionenter(other, self){ //获取碰撞组件的tag,来判断碰到的是那个物体 console.log('碰撞发生' + other.tag); } /** * 当碰撞产生后,碰撞结束前的情况下,每次计算碰撞结果后调用 * @param {collider} other 产生碰撞的另一个碰撞组件 * @param {collider} self 产生碰撞的自身的碰撞组件 */ oncollisionstay(other, self) { console.log('碰撞持续'); } /** * 当碰撞结束后调用 * @param {collider} other 产生碰撞的另一个碰撞组件 * @param {collider} self 产生碰撞的自身的碰撞组件 */ oncollisionexit(other, self) { console.log('碰撞结束'); }
赞 (0)
您想发表意见!!点此发布评论


![[职场] 审计经理求职简历工作经历范文(6篇) #微信#职场发展#职场发展](https://images.3wcode.com/3wcode/20240802/s_0_202408020416379531.jpg)

发表评论