ubuntu nginx安装及服务配置跨域问题处理方式
389人参与 • 2024-09-08 • Nginx
1、安装nginx
apt-get install nginx
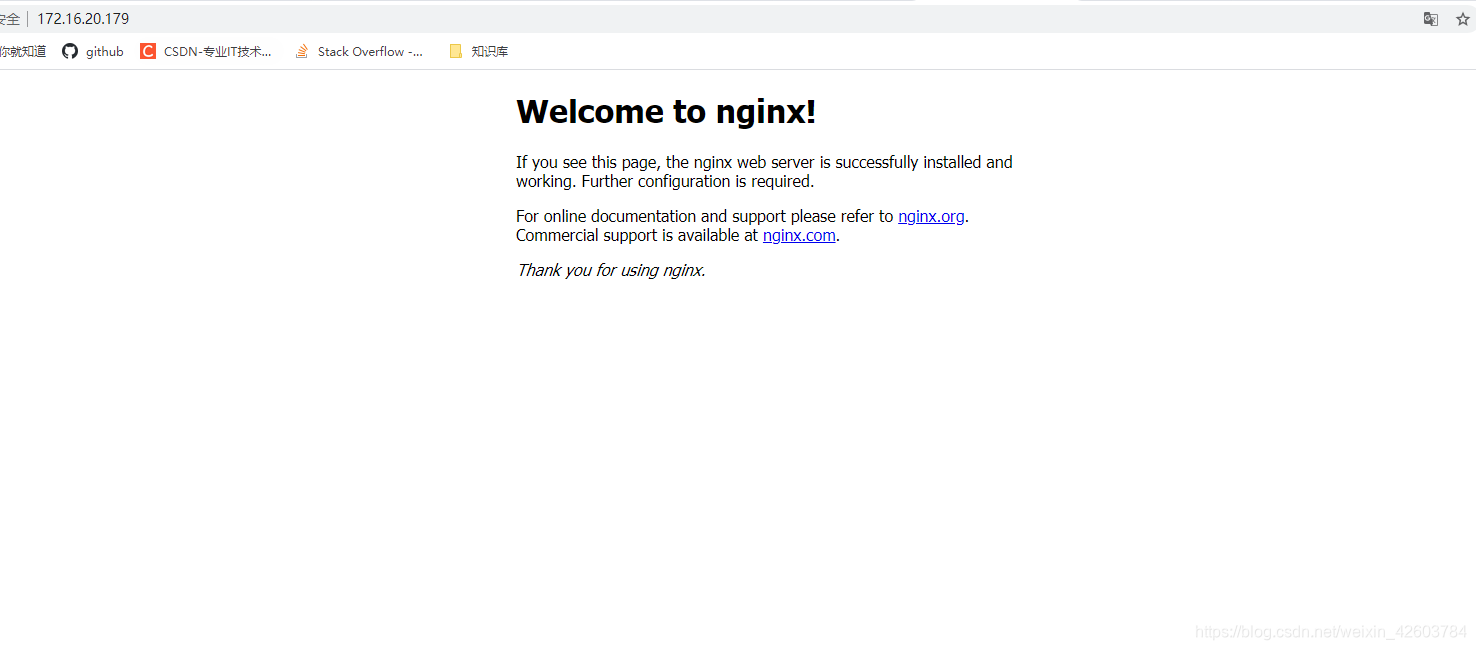
2、启动nginx服务
外部浏览器访问默认80端口
service nginx start
3、配置文件修改
vim /etc/nginx/nginx.conf
#user www-data;
user root;  #使用root
worker_processes auto;
pid /run/nginx.pid;
include /etc/nginx/modules-enabled/*.conf;

events {
	worker_connections 768;
	# multi_accept on;
}

http {

	##
	# basic settings
	##

	sendfile on;
	tcp_nopush on;
	tcp_nodelay on;
	keepalive_timeout 65;
	types_hash_max_size 2048;
	# server_tokens off;

	# server_names_hash_bucket_size 64;
	# server_name_in_redirect off;

	include /etc/nginx/mime.types;
	default_type application/octet-stream;

	##
	# ssl settings
	##

	ssl_protocols tlsv1 tlsv1.1 tlsv1.2; # dropping sslv3, ref: poodle
	ssl_prefer_server_ciphers on;

	##
	# logging settings
	##

	access_log /var/log/nginx/access.log;
	error_log /var/log/nginx/error.log;

	##
	# gzip settings
	##

	gzip on;

	# gzip_vary on;
	# gzip_proxied any;
	# gzip_comp_level 6;
	# gzip_buffers 16 8k;
	# gzip_http_version 1.1;
	# gzip_types text/plain text/css application/json application/javascript text/xml application/xml application/xml+rss text/javascript;

	##
	# virtual host configs
	##

	include /etc/nginx/conf.d/*.conf;
	include /etc/nginx/sites-enabled/*;
        server {
           listen       8080;          #监听端口
           server_name 172.16.30.70;   #当前nginx部署机器地址,或是当前机器的公网地址
           # 全局跨域添加
           #add_header 'access-control-allow-origin'  '*';
           #add_header 'access-control-allow-headers' 'dnt,x-customheader,keep-alive,user-agent,x-requested-with,if-modified-since,cache-control,content-type,content-range,range';
           #add_header 'access-control-allow-methods' 'get,post,put,delete,patch,options';
           #add_header 'access-control-allow-headers' 'x-requested-with';
           location / {
              auth_basic off;              #参数off表示不开启http基本认证
              root  /root/webwork/dist;    #前端项目路径
              index  index.html index.htm;            #index
              proxy_pass  http://172.16.30.70:8085;   #后端接口地址(要转发的地址服务)
              # 跨域
              add_header 'access-control-allow-origin'  '*';
              add_header 'access-control-allow-headers' 'dnt,x-customheader,keep-alive,user-agent,x-requested-with,if-modified-since,cache-control,content-type,content-range,range';
              add_header 'access-control-allow-methods' 'get,post,put,delete,patch,options';
              add_header 'access-control-allow-headers' 'x-requested-with';

              ##
              proxy_set_header   host             $host:$server_port;
              proxy_set_header   x-real-ip        $remote_addr;
              proxy_set_header   x-forwarded-for  $proxy_add_x_forwarded_for;

              proxy_connect_timeout 300s;
              proxy_send_timeout 300s;
              proxy_read_timeout 300s;

              proxy_http_version 1.1;
        }
	}
		# 转发10.7.57.29:6800到23.91.97.141:399
	    server {
        listen 39907;
        server_name 23.91.97.141;

        location / {
            auth_basic off;
            proxy_pass http://10.7.57.29:6800;
        }
    }
		# 负载均衡到10.7.187.21:18001
        server {
        listen 18001;
        server_name 10.7.187.21;

        location / {
            proxy_pass http://destination-address1;
        }
    }

    	upstream destination-address1 {
        server 10.7.173.36:18001;
        server 10.7.124.180:18001;
    }

}


#转发redis端口到39906
stream {
        server {
            listen 39906;
            proxy_pass 10.7.187.21:6379;
     }
}

#mail {
#	# see sample authentication script at:
#	# http://wiki.nginx.org/imapauthenticatewithapachephpscript
#
#	# auth_http localhost/auth.php;
#	# pop3_capabilities "top" "user";
#	# imap_capabilities "imap4rev1" "uidplus";
#
#	server {
#		listen     localhost:110;
#		protocol   pop3;
#		proxy      on;
#	}
#
#	server {
#		listen     localhost:143;
#		protocol   imap;
#		proxy      on;
#	}
#}
4、重置nginx且重启
service nginx reload
service nginx restart
5、卸载nginx
apt-get remove nginx nginx-common # 卸载删除除了配置文件以外的所有文件。

apt-get purge nginx nginx-common # 卸载所有东东,包括删除配置文件。

apt-get autoremove # 在上面命令结束后执行,主要是卸载删除nginx的不再被使用的依赖包。

apt-get remove nginx-full nginx-common #卸载删除两个主要的包。
总结
以上为个人经验,希望能给大家一个参考,也希望大家多多支持代码网。
赞 (0)
您想发表意见!!点此发布评论


发表评论