JavaScript DOM操作与事件处理方法
228人参与 • 2025-02-14 • Javascript
前言
本文将通过一系列代码片段,深入探讨如何使用javascript进行dom操作、事件处理以及获取和设置元素属性。这些示例涵盖了从基础到进阶的技术点,帮助读者更好地理解javascript在实际项目中的应用。
1. 类名操作
代码片段
<!doctype html>
<html lang="en">
<head>
    <meta charset="utf-8">
    <meta http-equiv="x-ua-compatible" content="ie=edge">
    <meta name="viewport" content="width=device-width, initial-scale=1.0">
    <title>document</title>
    <style>
        .active {
            width: 100px;
            height: 100px;
            background: red;
        }
    </style>
</head>
<body>
    <input type="button" value="on|off">
    <div id="box"></div>
    <script>
        //1. 获取元素
        var div = document.queryselector('#box');
        var onoff = document.queryselector('input');
        //2. 添加类名
        div.classname = 'pox';
        div.classlist.add('hehe'); //添加新类名
        div.classlist.add('haha');
        div.classlist.add('active');
        //获取所有类名
        console.log(div.classlist, div.classlist.length);
        //通过下标获取指定的类名
        console.log(div.classlist.item(2));
        //3. 添加事件
        onoff.onclick = function () {
            div.classlist.toggle('active');
        }
        //4. 删除指定类名
        div.classlist.remove('hehe');
        //5. 查看指定的类名是否存在
        console.log(div.classlist.contains('hehe'));
    </script>
</body>
</html>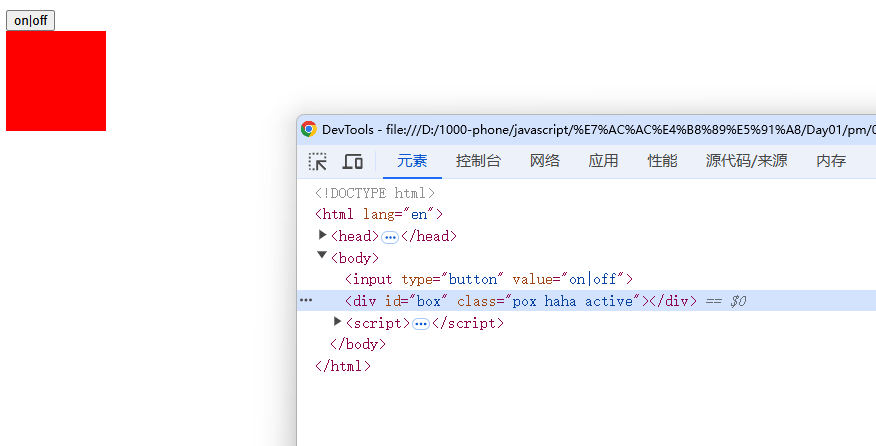
代码解析
获取元素:
var div = document.queryselector('#box');
var onoff = document.queryselector('input');使用queryselector方法获取页面中的<div>和<input>元素。
添加类名:
div.classname = 'pox';
div.classlist.add('hehe');
div.classlist.add('haha');
div.classlist.add('active');classname属性可以直接设置或获取元素的类名。classlist提供了一组便捷的方法来操作类名,如add、remove、toggle等。
获取所有类名:
console.log(div.classlist, div.classlist.length);
console.log(div.classlist.item(2));
classlist是一个domtokenlist对象,可以通过length属性获取类名数量,通过item方法获取指定索引的类名。
添加事件:
onoff.onclick = function () {
    div.classlist.toggle('active');
}toggle方法用于切换类名的存在状态。如果类名存在则移除,不存在则添加。
删除指定类名:
div.classlist.remove('hehe');查看指定的类名是否存在:
console.log(div.classlist.contains('hehe'));2. 属性操作
代码片段
<!doctype html>
<html lang="en">
<head>
    <meta charset="utf-8">
    <meta http-equiv="x-ua-compatible" content="ie=edge">
    <meta name="viewport" content="width=device-width, initial-scale=1.0">
    <title>document</title>
</head>
<body>
    <div id="box" title="标题" data-id="sp1"></div>
    <script>
        //1. 获取元素
        var div = document.getelementbyid('box');
        //2. 获取属性
        console.log(div.id, div['title']);
        //3. 获取自定义属性
        console.log(div.getattribute('data-id'));
        //4. 设置自定义属性
        div.setattribute('data-cartid', '999');
        //5. 删除自定义属性
        div.removeattribute('data-id');
        console.log(div.dataset.cartid);
        div.id = '';
    </script>
</body>
</html>
代码解析
获取元素:
var div = document.getelementbyid('box');获取属性:
console.log(div.id, div['title']);
可以直接通过属性名访问标准属性,如id和title。
获取自定义属性:
console.log(div.getattribute('data-id'));使用getattribute方法获取自定义属性值。
设置自定义属性:
div.setattribute('data-cartid', '999');使用setattribute方法设置自定义属性值。
删除自定义属性:
div.removeattribute('data-id');使用dataset访问自定义属性:
console.log(div.dataset.cartid);
dataset属性提供了一种更方便的方式访问带有data-前缀的自定义属性。
修改id属性:
div.id = '';
3. 内容操作
代码片段
<!doctype html>
<html lang="en">
<head>
    <meta charset="utf-8">
    <meta http-equiv="x-ua-compatible" content="ie-edge">
    <meta name="viewport" content="width=device-width, initial-scale=1.0">
    <title>document</title>
</head>
<body>
    <input type="text" name="" id="">
    <div id="box"></div>
    <script>
        //1. 获取元素
        var txt = document.queryselector('input');
        var div = document.queryselector('#box');
        //3. 添加内容
        txt.value = '姓名:';
        div.innerhtml = '呵呵<i>嘿嘿</i>嘻嘻';
        //2. 获取元素中的内容
        console.log(txt.value);
        console.log(div.innerhtml);
        console.log(div.innertext);
    </script>
</body>
</html>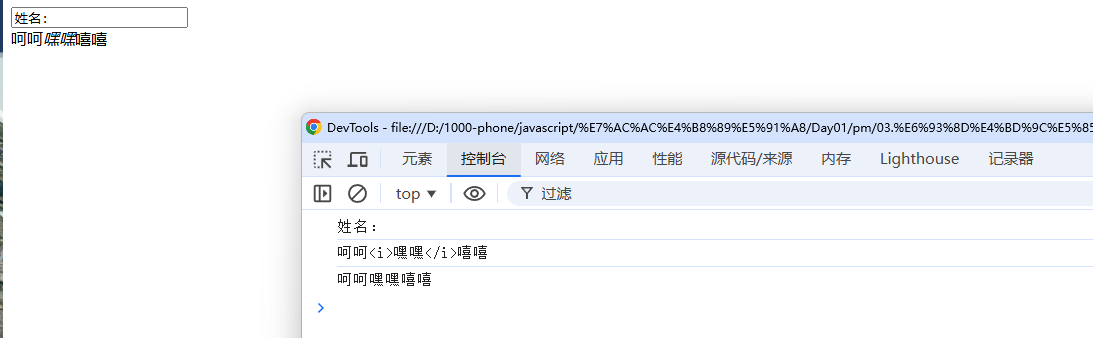
代码解析
获取元素:
var txt = document.queryselector('input');
var div = document.queryselector('#box');添加内容:
txt.value = '姓名:';
div.innerhtml = '呵呵<i>嘿嘿</i>嘻嘻';
value属性用于设置或获取表单元素的值。innerhtml属性用于设置或获取html内容,支持html标签解析。
获取元素中的内容:
console.log(txt.value);
console.log(div.innerhtml);
console.log(div.innertext);
innertext属性仅获取文本内容,不包含html标签。
4. 尺寸和位置
代码片段
<!doctype html>
<html lang="en">
<head>
    <meta charset="utf-8">
    <meta http-equiv="x-ua-compatible" content="ie-edge">
    <meta name="viewport" content="width=device-width, initial-scale=1.0">
    <title>document</title>
    <style>
        #box {
            width: 100px;
            height: 100px;
            background: red;
            border: 1px solid black;
            padding: 5px;
        }
    </style>
</head>
<body>
    <div id="box"></div>
    <script>
        //1. 获取元素
        var div = document.queryselector('#box');
        //2. 获取div的相对宽高
        console.log(div.offsetwidth, div.offsetheight); //112 112
        console.log(div.clientwidth, div.clientheight); //110 110
    </script>
</body>
</html>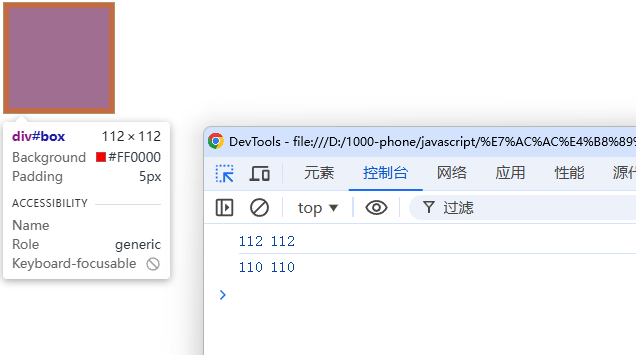
代码解析
获取元素:
var div = document.queryselector('#box');获取相对宽高:
console.log(div.offsetwidth, div.offsetheight); //112 112
console.log(div.clientwidth, div.clientheight); //110 110
offsetwidth和offsetheight包括了宽度/高度、内边距和边框。clientwidth和clientheight仅包括宽度/高度和内边距,不包括边框。
5. 动画效果
代码片段
<!doctype html>
<html lang="en">
<head>
    <meta charset="utf-8">
    <meta http-equiv="x-ua-compatible" content="ie-edge">
    <meta name="viewport" content="width=device-width, initial-scale=1.0">
    <title>document</title>
    <style>
        #box {
            width: 100px;
            height: 100px;
            background: red;
            position: absolute;
        }
    </style>
</head>
<body>
    <input type="button" value="带你飞">
    <div id="box"></div>
    <script>
        //1. 获取元素
        var div = document.queryselector('#box');
        var fly = document.queryselector('input');
        //2. 添加事件
        fly.onclick = function () {
            var speed = 1;
            setinterval(function () {
                div.style.left = div.offsetleft + speed++ + 'px';
            }, 30);
        }
    </script>
</body>
</html>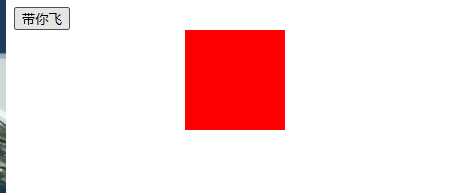
代码解析
获取元素:
var div = document.queryselector('#box');
var fly = document.queryselector('input');添加事件:
fly.onclick = function () {
    var speed = 1;
    setinterval(function () {
        div.style.left = div.offsetleft + speed++ + 'px';
    }, 30);
}点击按钮后,使用setinterval定时器每30毫秒更新一次left样式属性,使div元素逐渐向右移动。
6. 表格操作与事件处理
代码片段
<!doctype html>
<html lang="en">
<head>
    <meta charset="utf-8">
    <meta http-equiv="x-ua-compatible" content="ie-edge">
    <meta name="viewport" content="width=device-width, initial-scale=1.0">
    <title>document</title>
</head>
<body>
    <table border="1">
        <tr>
            <td>商品名称</td>
            <td>商品价格</td>
            <td>商品图片</td>
            <td>操作</td>
        </tr>
        <tr data-good-id="sp1">
            <td><input type="hidden" value="1">笔记本</td>
            <td>139999</td>
            <td>33333</td>
            <td><a href="javascript:;" rel="external nofollow"  rel="external nofollow"  rel="external nofollow"  class="buy">购买</a></td>
        </tr>
        <tr data-good-id="sp2">
            <td><input type="hidden" value="2">手机</td>
            <td>9999</td>
            <td>33333</td>
            <td><a href="javascript:;" rel="external nofollow"  rel="external nofollow"  rel="external nofollow"  class="buy">购买</a></td>
        </tr>
        <tr data-good-id="sp3">
            <td><input type="hidden" value="3">平板</td>
            <td>1999</td>
            <td>33333</td>
            <td><a href="javascript:;" rel="external nofollow"  rel="external nofollow"  rel="external nofollow"  class="buy">购买</a></td>
        </tr>
    </table>
    <script>
        //1. this 代表它所在的function被哪个对象调用了,this就代表这个对象。
        //2. 如果没有明确的调用对象,则代表window
        var buy = document.queryselectorall('.buy');
        //添加事件
        for (var i = 0, len = buy.length; i < len; i++) {
            buy[i].onclick = function () {
                //商品id
                var id = this.parentnode.parentnode.dataset.goodid;
                // alert(id);
                //商品序号
                var sn = this.parentnode.parentnode.firstelementchild.firstelementchild.value;
                // alert(sn);
                var name = this.parentnode.parentnode.firstelementchild.lastchild.nodevalue;
                alert(name);
            }
        }
    </script>
</body>
</html>
代码解析
获取元素:
var buy = document.queryselectorall('.buy');添加事件:
for (var i = 0, len = buy.length; i < len; i++) {
    buy[i].onclick = function () {
        //商品id
        var id = this.parentnode.parentnode.dataset.goodid;
        //商品序号
        var sn = this.parentnode.parentnode.firstelementchild.firstelementchild.value;
        //商品名称
        var name = this.parentnode.parentnode.firstelementchild.lastchild.nodevalue;
        alert(name);
    }
}遍历所有带有buy类的链接,并为每个链接添加点击事件。点击时,通过this关键字获取当前点击的元素,然后逐层向上查找父元素,最终获取商品id、序号和名称。
结尾
通过上述代码片段和技术解析,我们详细介绍了如何使用javascript进行dom操作、事件处理、属性操作、内容操作、尺寸和位置的获取,以及实现简单的动画效果。这些技术点不仅涵盖了基础的dom操作,还包括了一些常见的兼容性处理和高级用法。希望本文能帮助读者更好地理解和掌握javascript在web开发中的应用,为后续的项目开发打下坚实的基础。
到此这篇关于javascript dom操作与事件处理的文章就介绍到这了,更多相关js dom操作内容请搜索代码网以前的文章或继续浏览下面的相关文章希望大家以后多多支持代码网!
赞 (0)
您想发表意见!!点此发布评论


发表评论