nginx生成自签名SSL证书配置HTTPS的实现
325人参与 • 2025-03-02 • SSL
一、安装nginx
nginx必须有"--with-http_ssl_module"模块
查看nginx安装的模块:
root@ecs-7398:/usr/local/nginx# cd /usr/local/nginx/
root@ecs-7398:/usr/local/nginx# ./sbin/nginx -v
nginx version: nginx/1.20.2
built by gcc 9.4.0 (ubuntu 9.4.0-1ubuntu1~20.04.2)
built with openssl 1.1.1f  31 mar 2020
tls sni support enabled
configure arguments: --prefix=/usr/local/nginx --with-pcre --with-http_ssl_module --with-http_gzip_static_module --with-http_v2_module --with-http_realip_module --with-http_sub_module --with-http_dav_module --with-http_flv_module
二、创建证书
1、生成私钥
root@ecs-7398:~# cd /usr/local/nginx/
root@ecs-7398:/usr/local/nginx# mkdir key
root@ecs-7398:/usr/local/nginx# cd key/
root@ecs-7398:/usr/local/nginx/key# openssl genrsa -des3 -out server.key 2048          #使用ssl生成私钥名为 server.key
generating rsa private key, 2048 bit long modulus (2 primes)
................+++++
......+++++
e is 65537 (0x010001)
enter pass phrase for server.key:                    #自定义密码:123456
verifying - enter pass phrase for server.key:          #确认密码:123456
root@ecs-7398:/usr/local/nginx# ls
client_body_temp  conf  fastcgi_temp  html  logs  proxy_temp  sbin  scgi_temp  server.key  uwsgi_temp
root@ecs-7398:/usr/local/nginx/key# cat server.key       #查看私钥内容
-----begin rsa private key-----
proc-type: 4,encrypted
dek-info: des-ede3-cbc,4103533ed9b6ecd1

mahsh46l3tsicymb5pta93lw/wzkzx/9iuzgm/ogg7u0ckhwdilf907/52ocp80e
by/fktadbcrev2ufuke28wjdn2aqddijgsp0cdlvkfv/kqegvyuy2sicoxchv8fl
70vfafuta5cwxyibrvfhfspj39oc76eitx120x+kckgwdkiavgg9cp0tfmdndose
fmpmzhqkkkp5dxuupnitfumhhhzpjxqmr9ogxtendmynbrrywc8+nhrho7iomzep
thiqpjqcrd8xkkcyqfkvcos8kcxekf1eylbj89e2zqgaujukyc90rahpwga9muso
hnot/u85zwsmqkh4/2ox7avllnig0+rxt+ifwjb6xgt21sefl/2vsknakj2pn3j+
mpesvpaki1bsz8lrpsqfnr0fdhig+a5hzfstlwouzcpepx7vb5qvkavoskrgmbdo
gqp4h24cspaaqi6wih+axb8stftcsbatj5rwxgynskumhl8kzpc9/yj7qrlx3m3i
tbdlpovu6tuyzmdvydmgttuhopidfvjarz8bgwufp0mm3sx+rpppul1vosuvve5t
8uba4fqv+kieqdr/pelb4n+zgzifp5htozn7mfwn6h/ygm3gegneljiqypyqpzod
duic/vhrscuylww7rh8lutgnvakjbyuqja38wypatlkqfi1rwfzi9gcwwyz0scnq
tffbpzeblkg+h7ggfrto+50tldvetyqctbj2ibytpvkk4xe7oamszyqbfqg6oycp
k2lhlwkksdf7xhlbo5kp2uufb7lszx3jdrma0fw3gqeevfjysyjo2w==
-----end rsa private key-----
root@ecs-7398:/usr/local/nginx/key#
2、生成公钥
root@ecs-7398:/usr/local/nginx/key# openssl req -new -key server.key -out server.csr     #基于创建的server.key私钥创建server.csr公钥
enter pass phrase for server.key:             #输入server.key的密码:123456
you are about to be asked to enter information that will be incorporated
into your certificate request.
what you are about to enter is what is called a distinguished name or a dn.
there are quite a few fields but you can leave some blank
for some fields there will be a default value,
if you enter '.', the field will be left blank.
-----
country name (2 letter code) [au]:cn       #国家
state or province name (full name) [some-state]:shanghai   #省市
locality name (eg, city) []:jiading     #城市
organization name (eg, company) [internet widgits pty ltd]:bai    #组织
organizational unit name (eg, section) []:zr   #单位
common name (e.g. server fqdn or your name) []:byc     #姓名
email address []:2123288207@qq.com   #邮箱

please enter the following 'extra' attributes
to be sent with your certificate request
a challenge password []:123456     #密码
an optional company name []:zr     #公司
root@ecs-7398:/usr/local/nginx/key#
3、签名生成证书
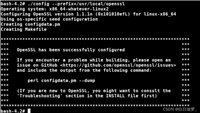
root@ecs-7398:/usr/local/nginx/key# openssl rsa -in server.key -out server.key        #去除server.key认证,避免每次"nginx -t"时出现输入密码的情况
enter pass phrase for server.key:          #密码:123456
writing rsa key
root@ecs-7398:/usr/local/nginx/key#

root@ecs-7398:/usr/local/nginx/key# openssl x509 -req -days 3650 -in server.csr -signkey server.key -out server.crt
#使用私钥和公钥生成server.crt签名证书,-days为3650天 -in指定公钥,-signkey指定私钥,生成的前面证书为server.crt
signature ok
subject=c = cn, st = shanghai, l = jiading, o = bai, ou = zr, cn = byc, emailaddress = 2123288207@qq.com
getting private key
root@ecs-7398:/usr/local/nginx/key#
三、配置证书并验证
root@ecs-7398:/usr/local/nginx/key# cd ..
root@ecs-7398:/usr/local/nginx# systemctl start nginx    #启动nginx
root@ecs-7398:/usr/local/nginx# vim conf/nginx.conf
#编辑nginx主配置文件将后面server的注释去掉
server {
    listen       443 ssl;
    server_name  localhost;

    ssl_certificate      /usr/local/nginx/key/server.crt;     ##证书路径
    ssl_certificate_key  /usr/local/nginx/key/server.key;  ##证书路径

    ssl_session_cache    shared:ssl:1m;
    ssl_session_timeout  5m;

    ssl_ciphers  high:!anull:!md5;
    ssl_prefer_server_ciphers  on;

    location / {
        root   /usr/local/nginx/html/xiaomi;
        index  index.html index.htm;
    }
}
四、测试
root@ecs-7398:/usr/local/nginx# cd
root@ecs-7398:~# ls
nginx-1.20.2  nginx-1.20.2.tar.gz  小米官网.zip
root@ecs-7398:~# unzip 小米官网.zip -d /usr/local/nginx/html/xiaomi
root@ecs-7398:~# ls /usr/local/nginx/html/xiaomi/
css  iconfont  images  index.html
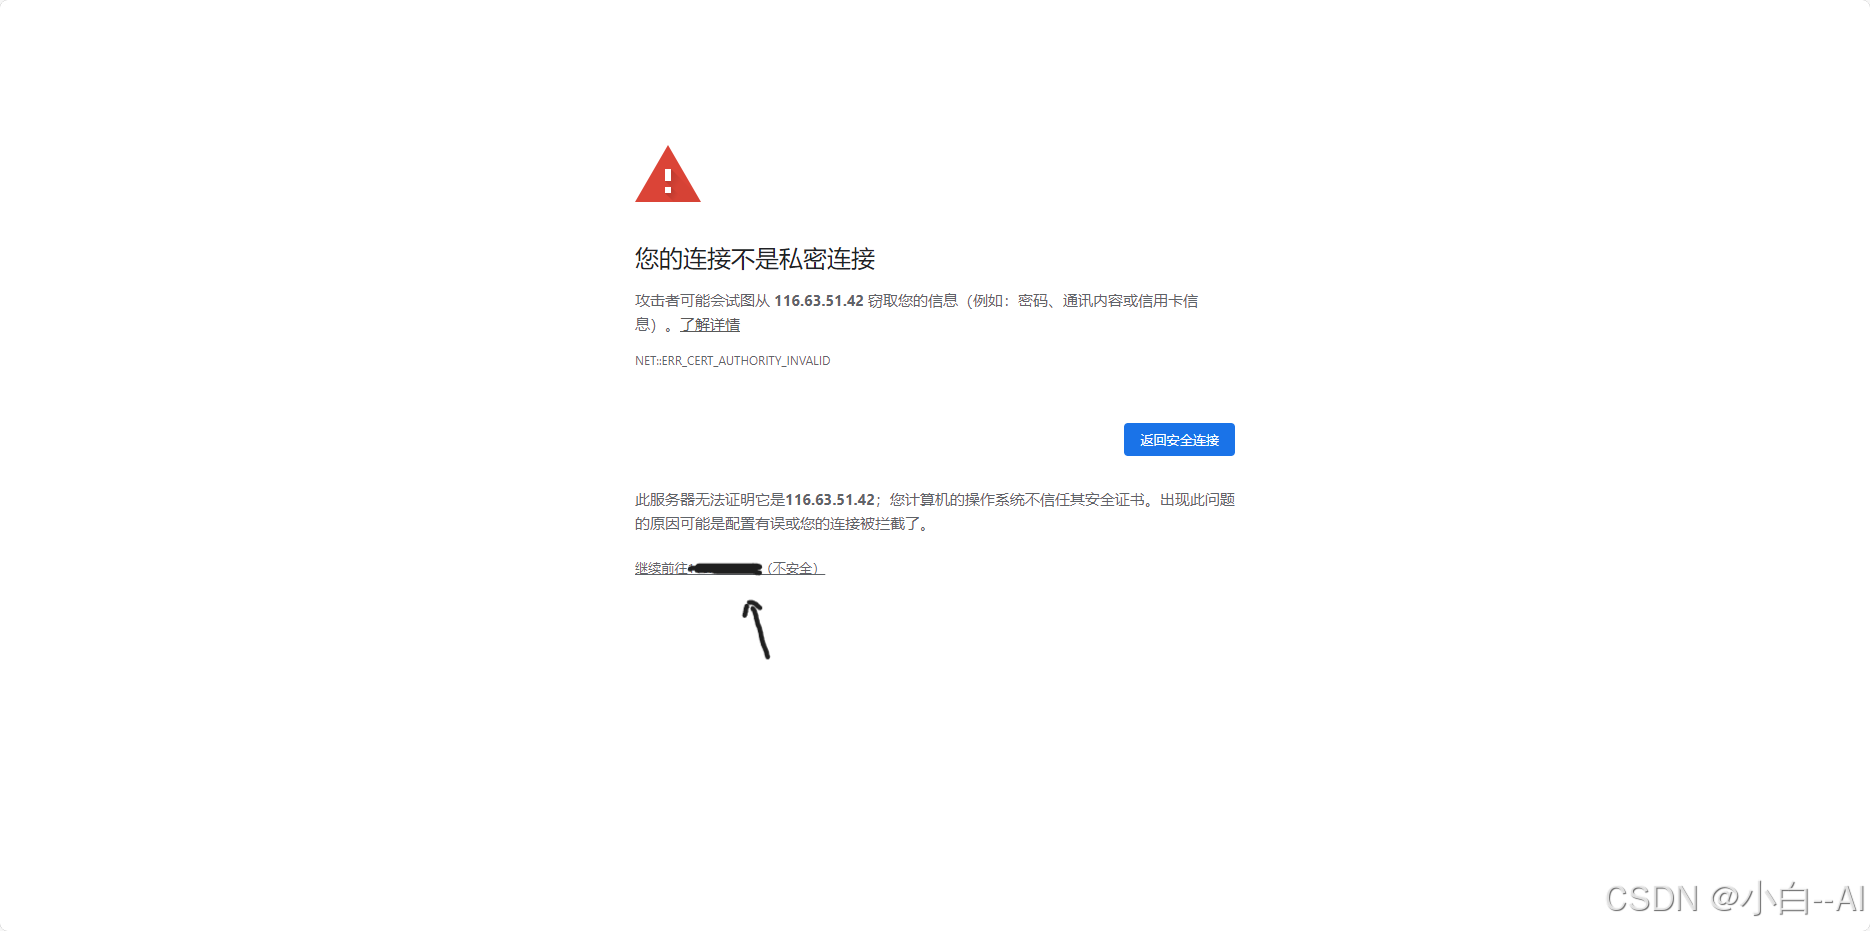
在浏览器访问https//xxx.xxx.xxx.xxx:443

到此这篇关于nginx生成自签名ssl证书配置https的实现的文章就介绍到这了,更多相关nginx生成自签名ssl证书内容请搜索代码网以前的文章或继续浏览下面的相关文章希望大家以后多多支持代码网!
赞 (0)
您想发表意见!!点此发布评论


发表评论