Ubuntu Server 22.04.5 入门篇:详尽安装部署指南
262人参与 • 2025-03-05 • Linux
ubuntu server 22.04.5 从零到一:详尽安装部署指南
一、部署环境
| 名称 | 软件 | 版本号 |
|---|---|---|
| 操作系统 | ubuntu server | 22.04.5 |
二、安装系统
2.1 安装
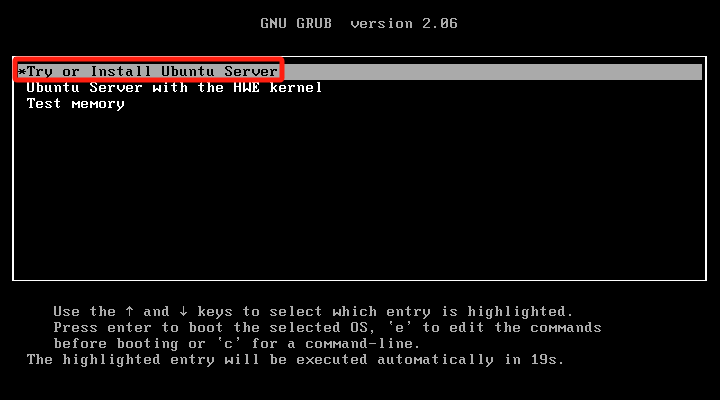
2.1.1 选择安装方式
安装方式,选第一条。
2.1.2 选择语言
建议英语,报错时比较好百度,中文版报错不容易搜索。

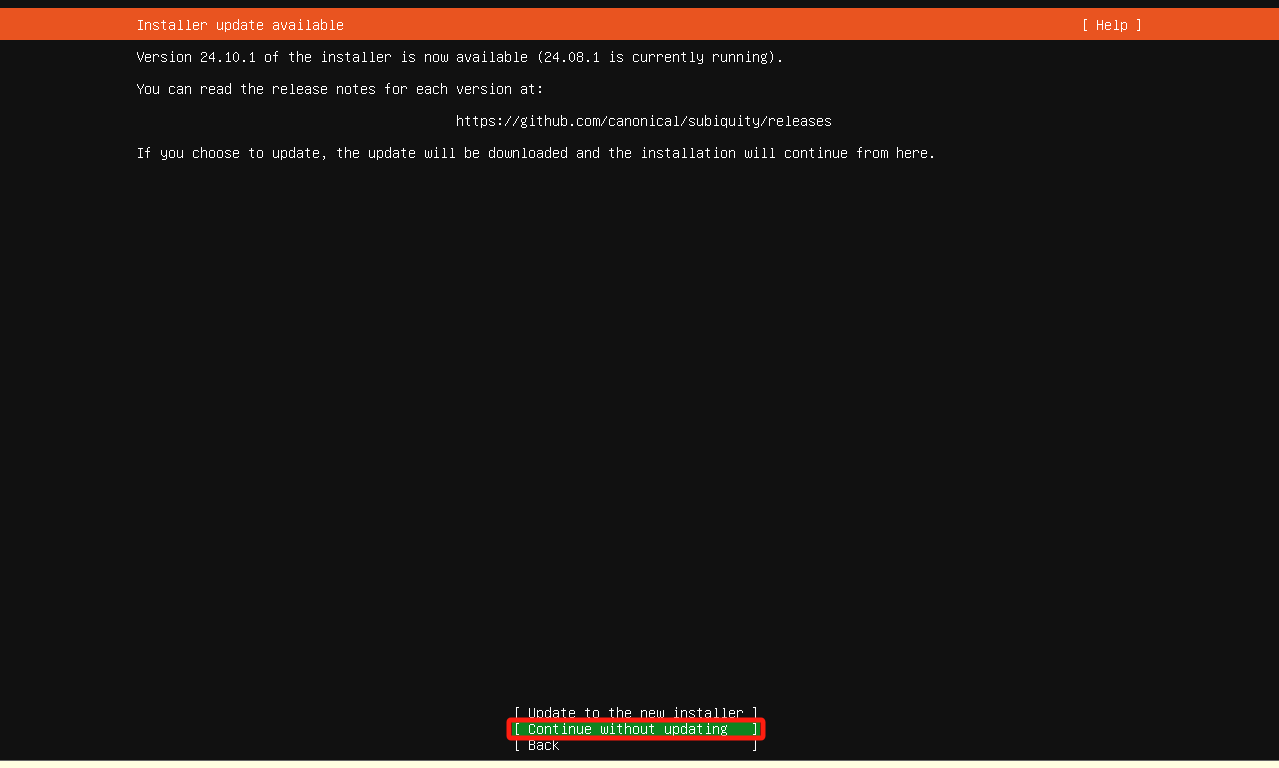
2.1.3 选择不更新
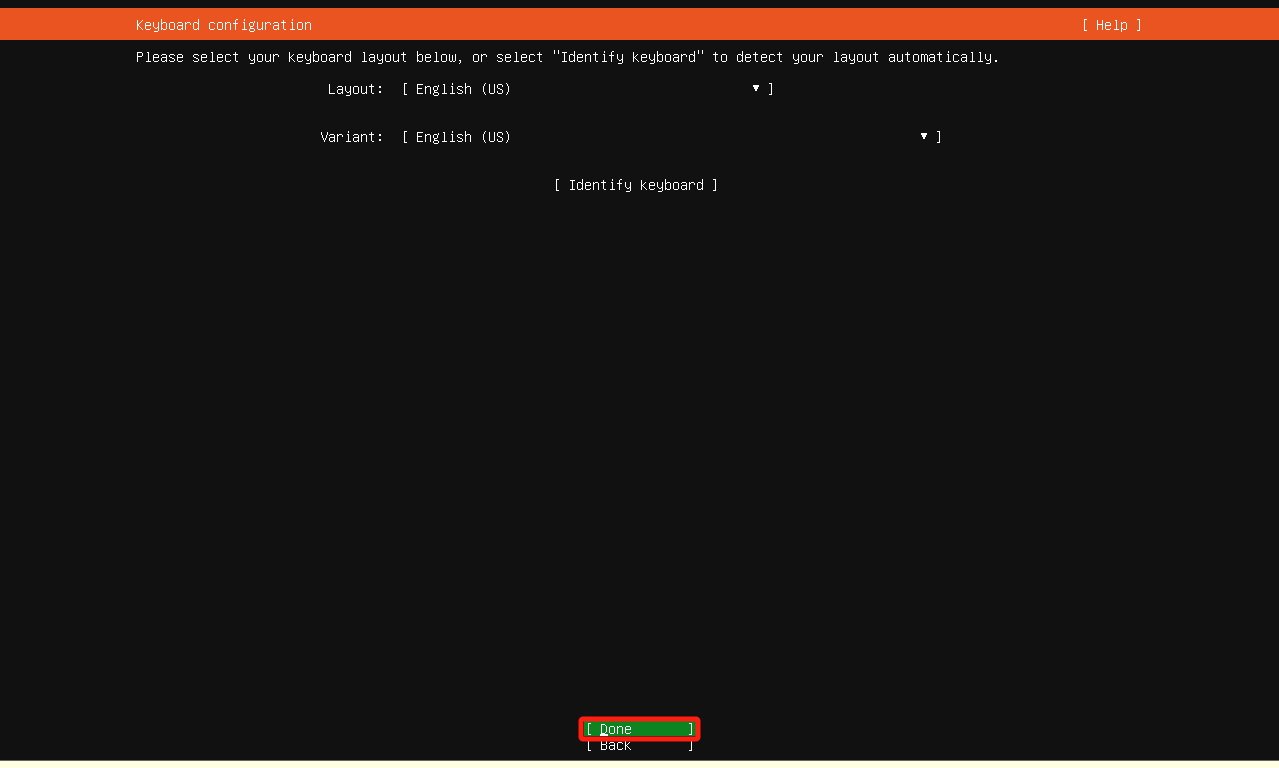
2.1.4 选择键盘标准
默认即可。
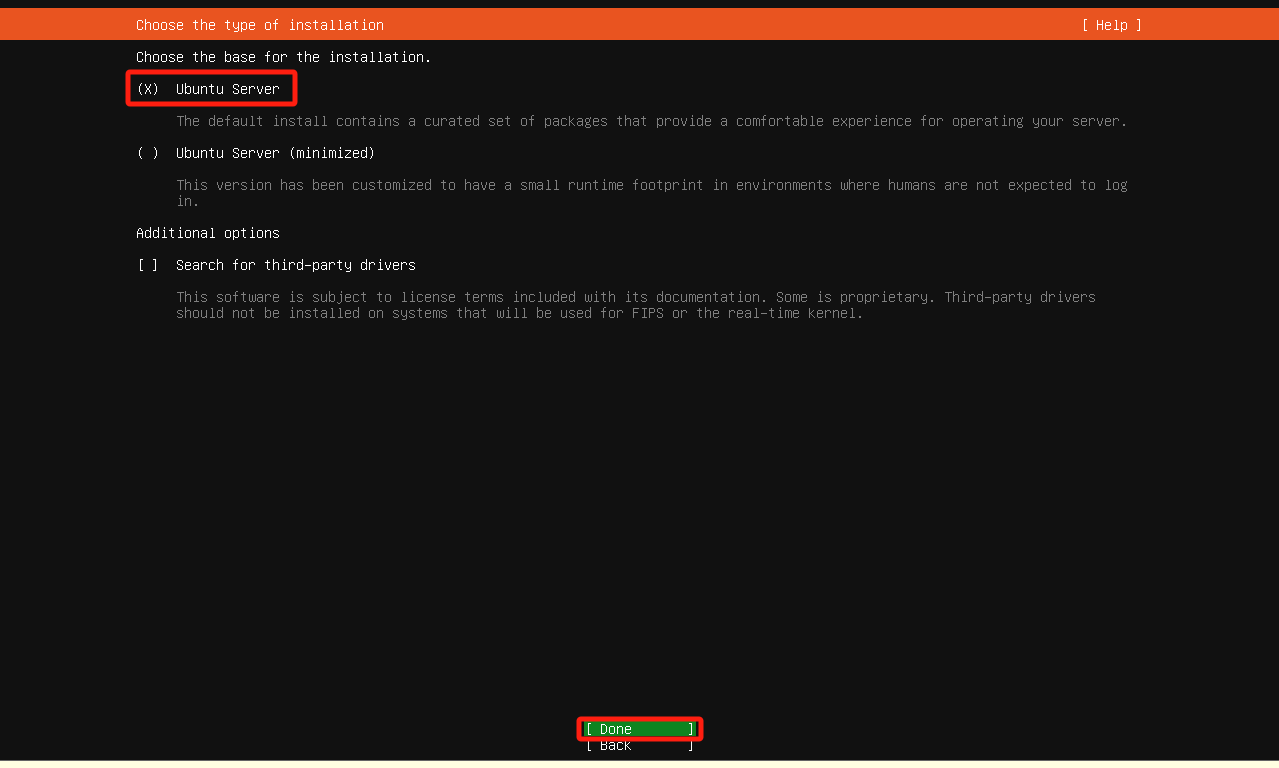
2.1.5 选择安装版本
选择安装版本为标准server,键盘方向键控制光标,空格键选中。
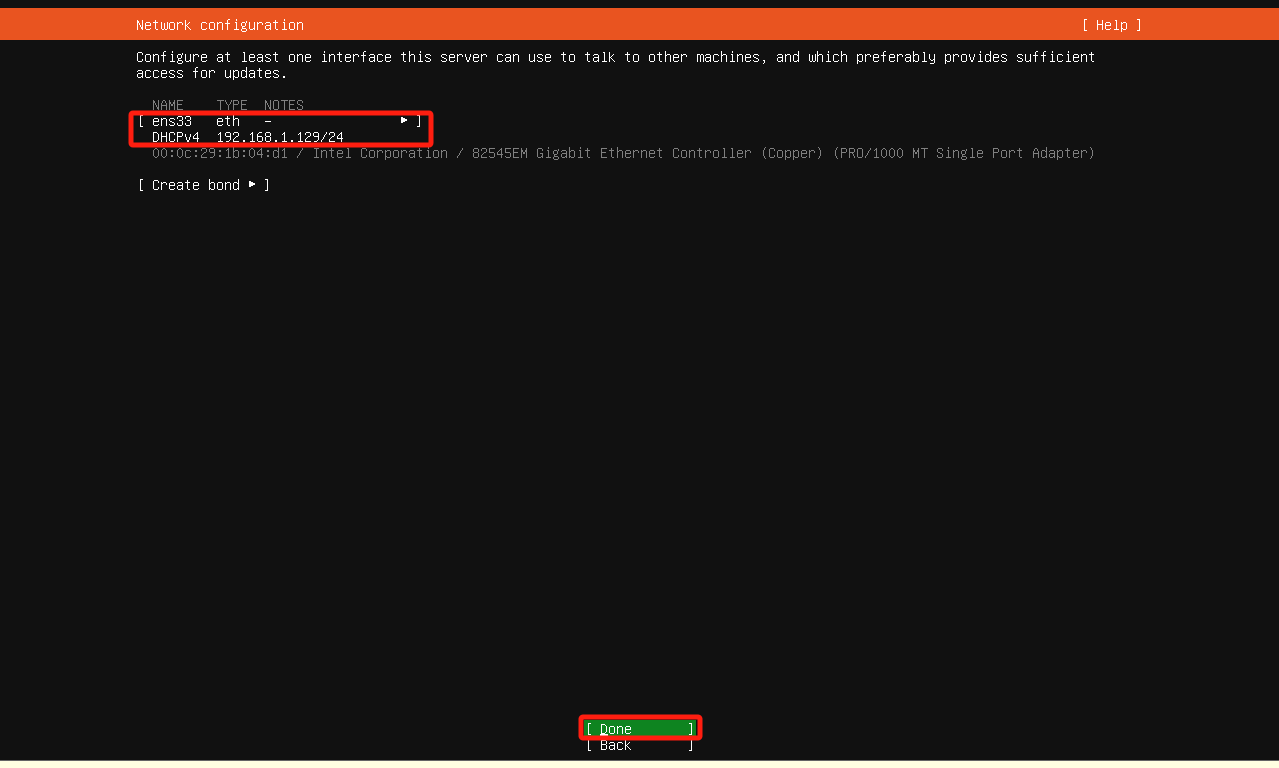
2.1.6 设置网卡
联网环境下稍稍等待一下,即可自动获取到ip地址。
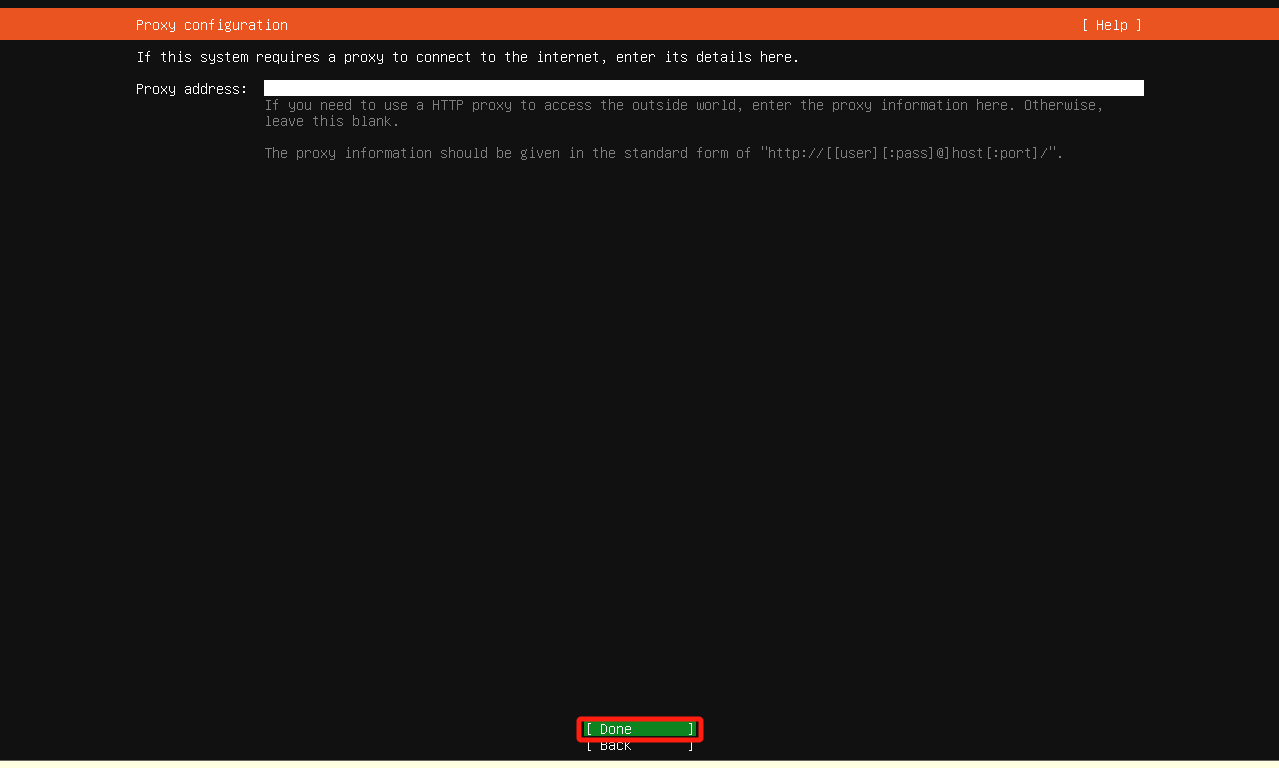
2.1.7 配置代理
没特殊需求不用理,直接下一步。
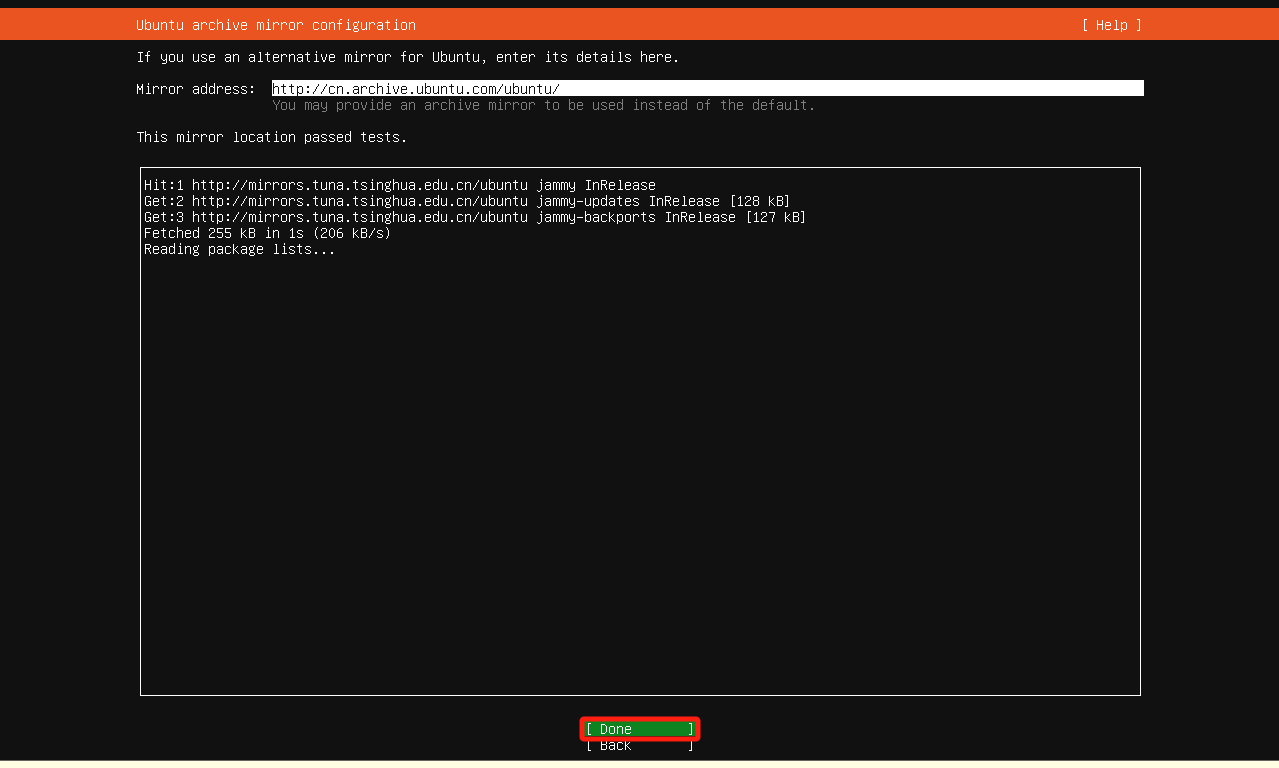
2.1.8 设置镜像源
后面可以设置,这里直接下一步。
2.1.9 选择装系统的硬盘
多块硬盘时需要进行选择。
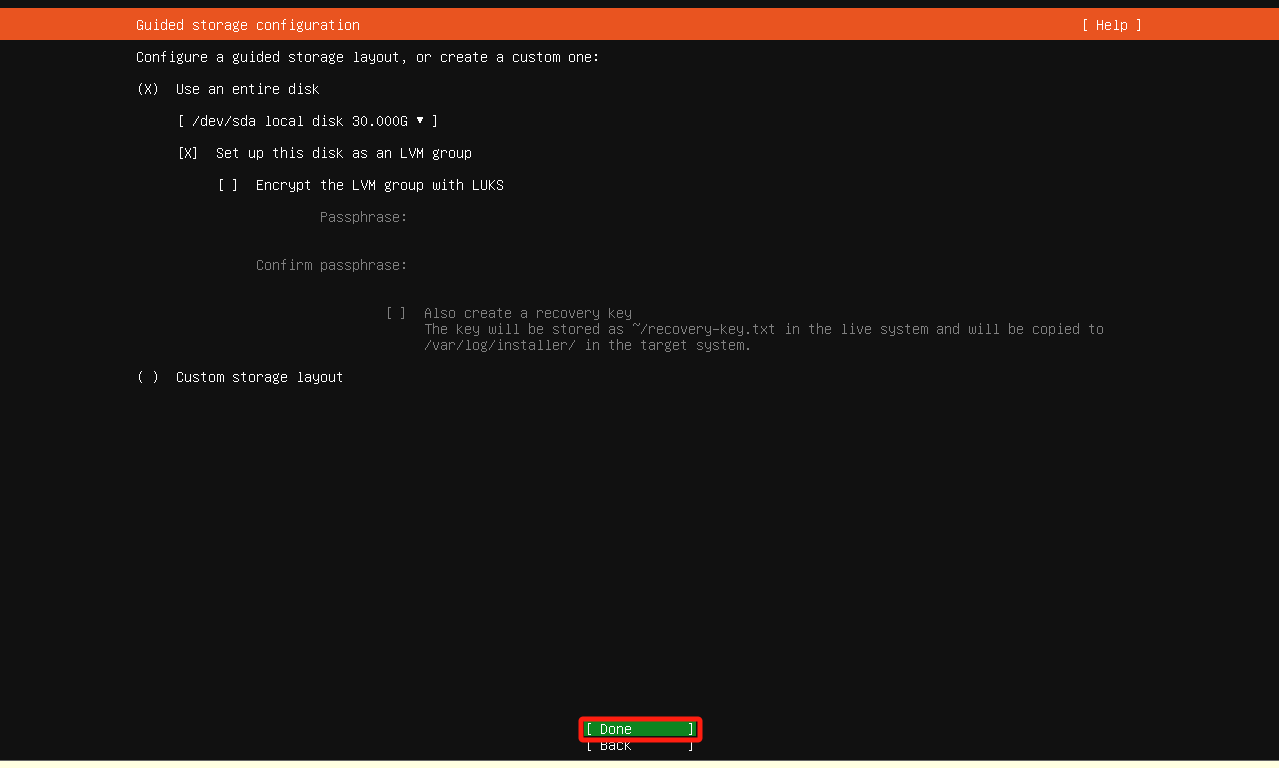
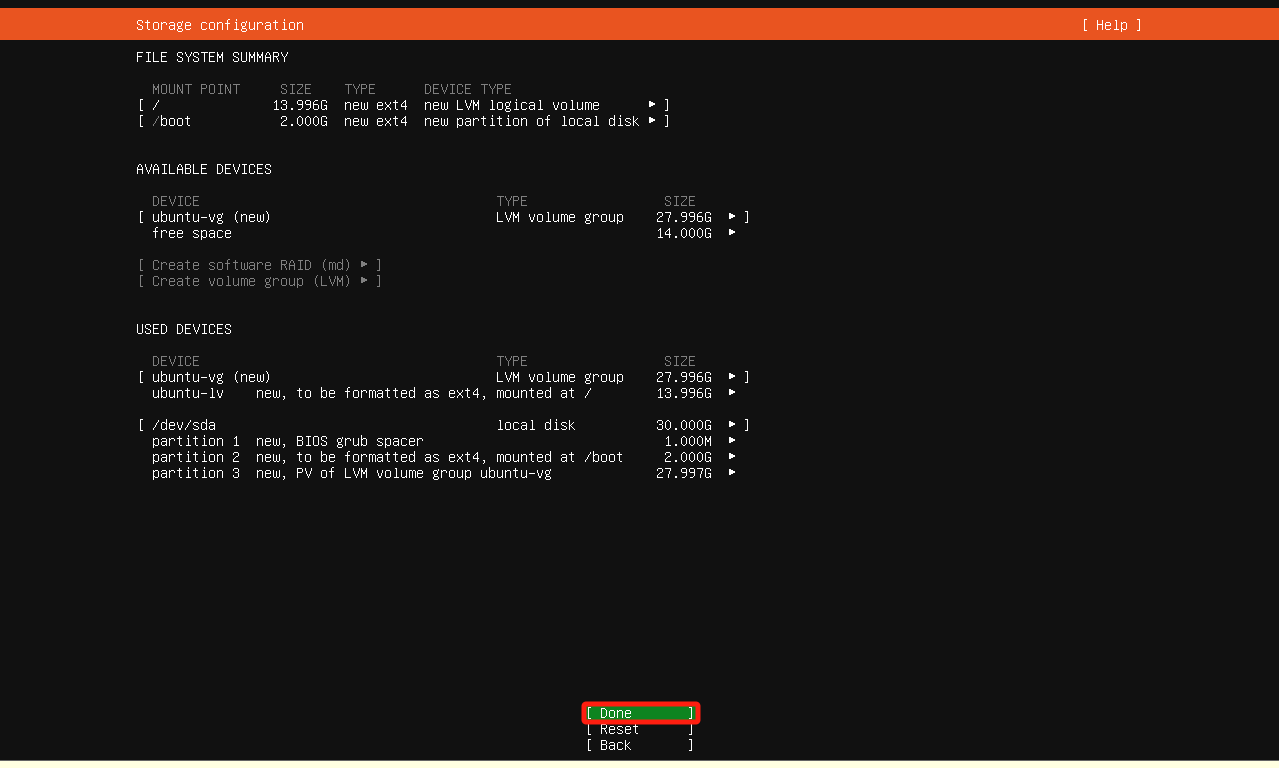
2.1.10 硬盘分区
默认即可。
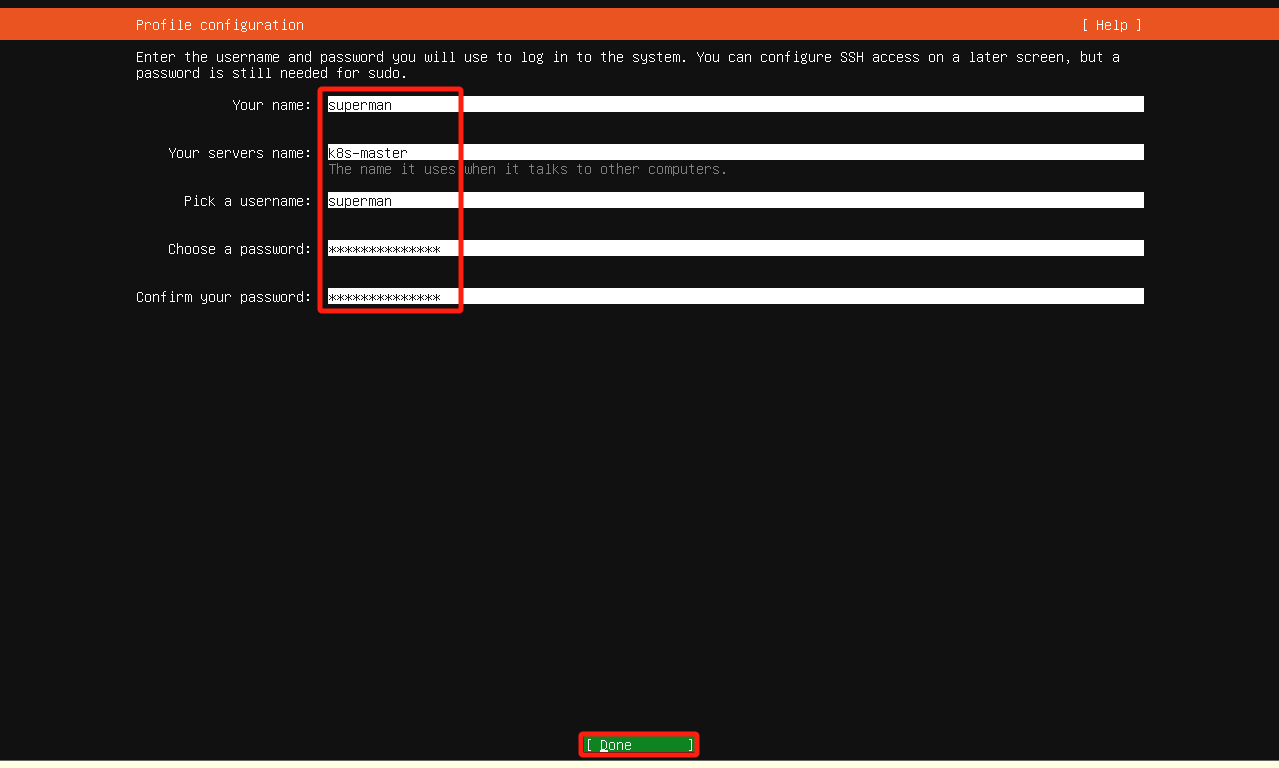
2.1.11 基本配置
设置名字、主机名、用户名,设置用户名密码。
2.1.12 升级ubuntu pro
不升级,选择跳过。(默认选项即是跳过。skip)

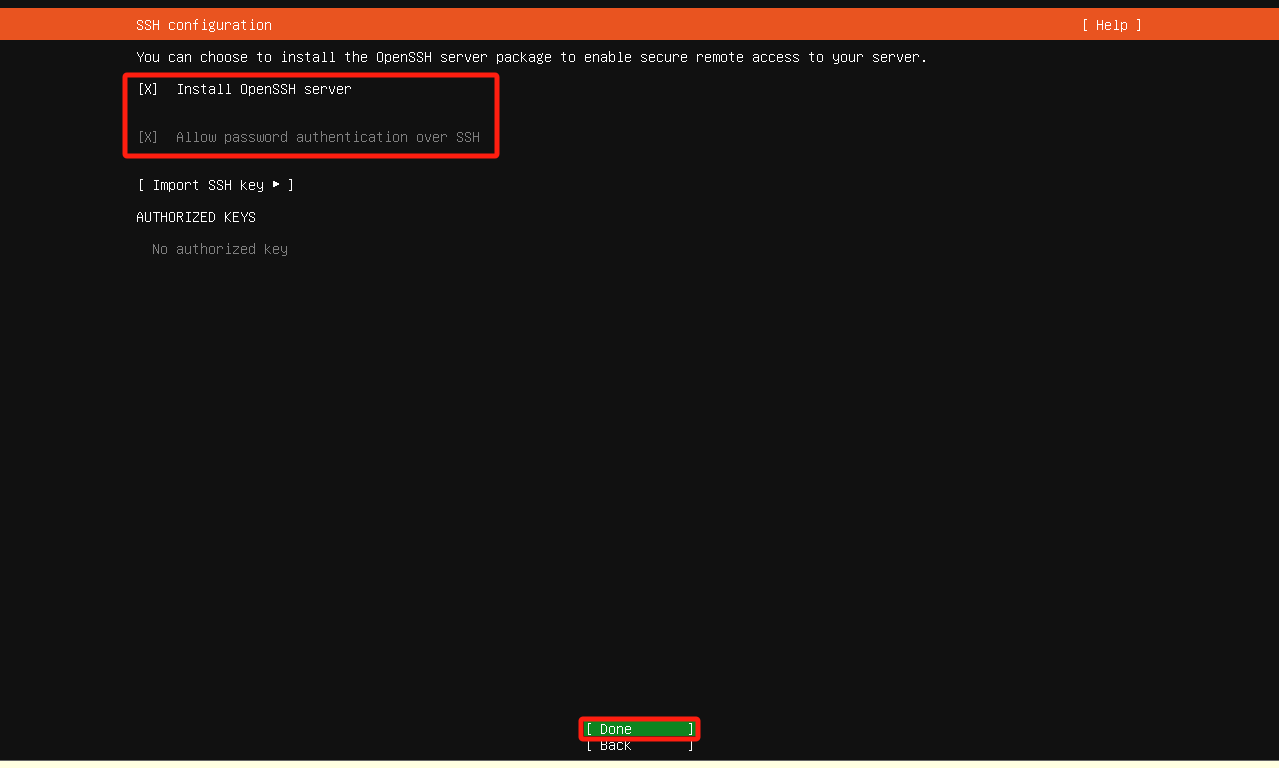
2.1.13 开启ssh服务
这个建议开启,否则还需进系统修改,比较麻烦。空格选中。
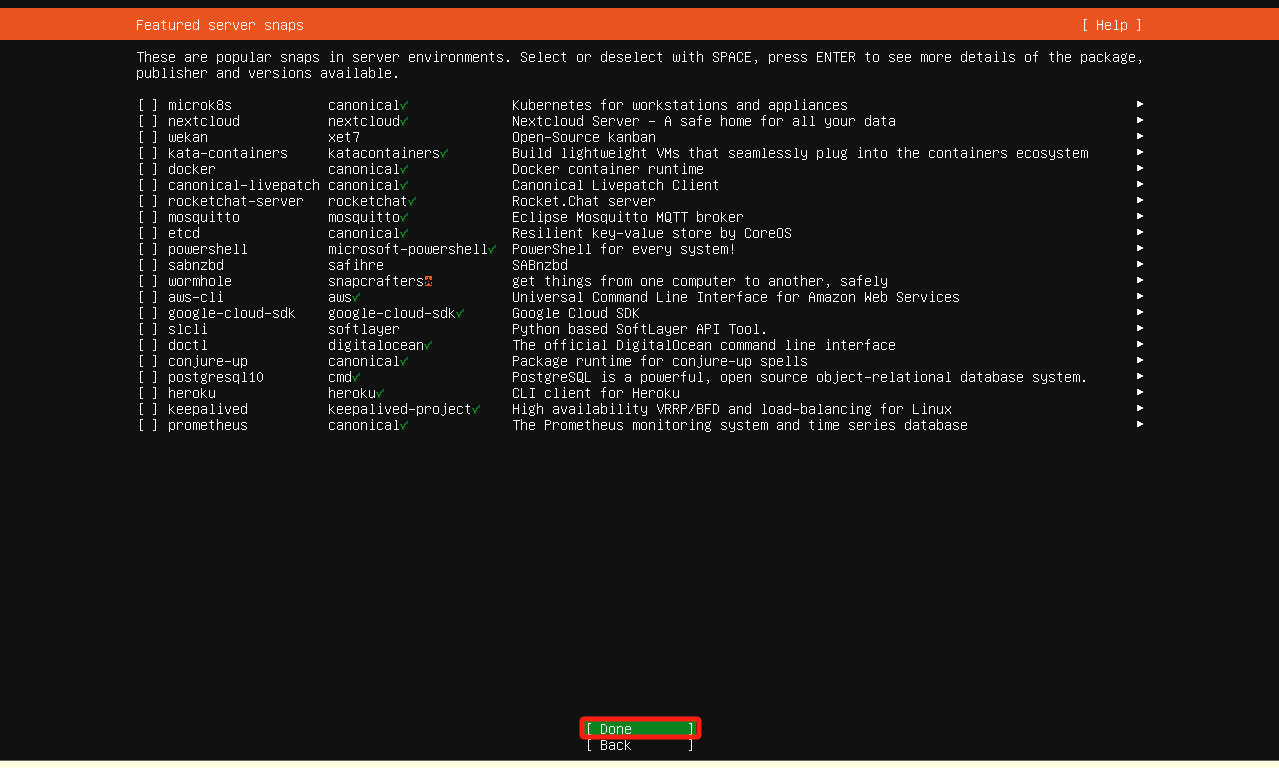
2.1.14 服务快照
这里不做选择,直接下一步。
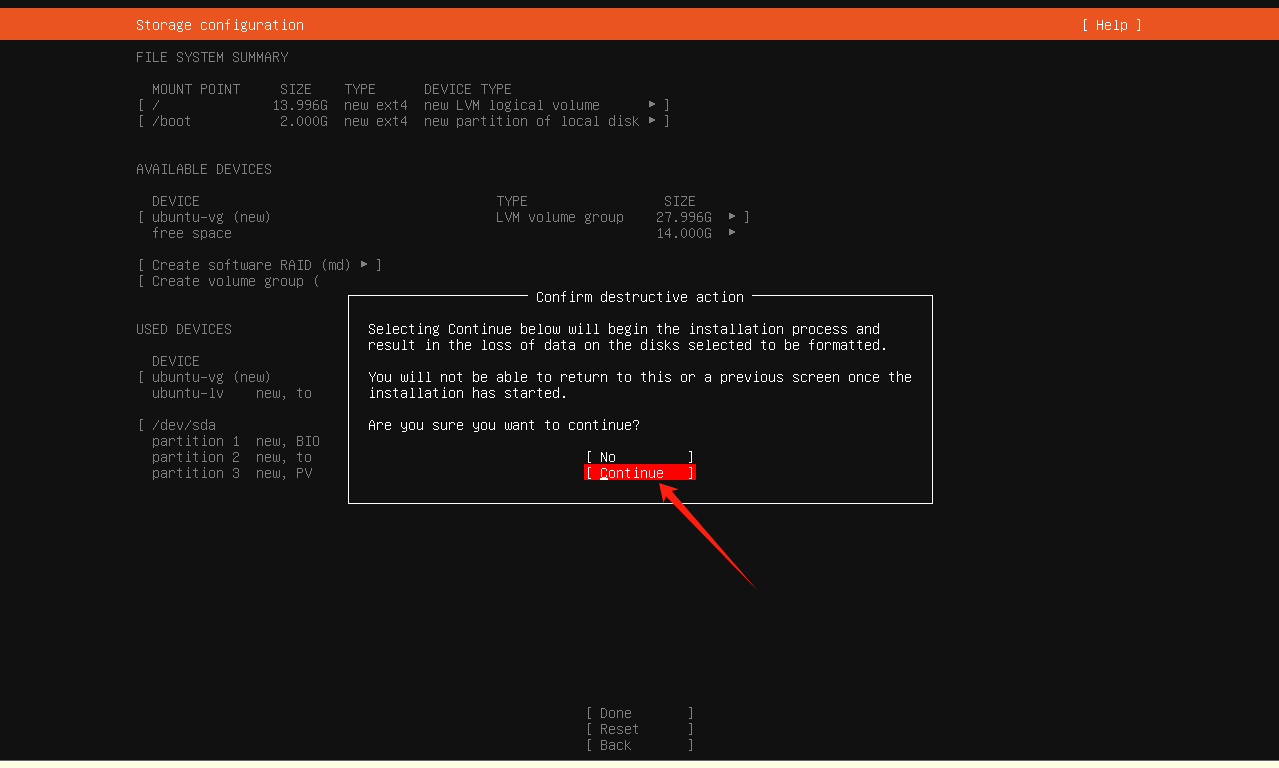
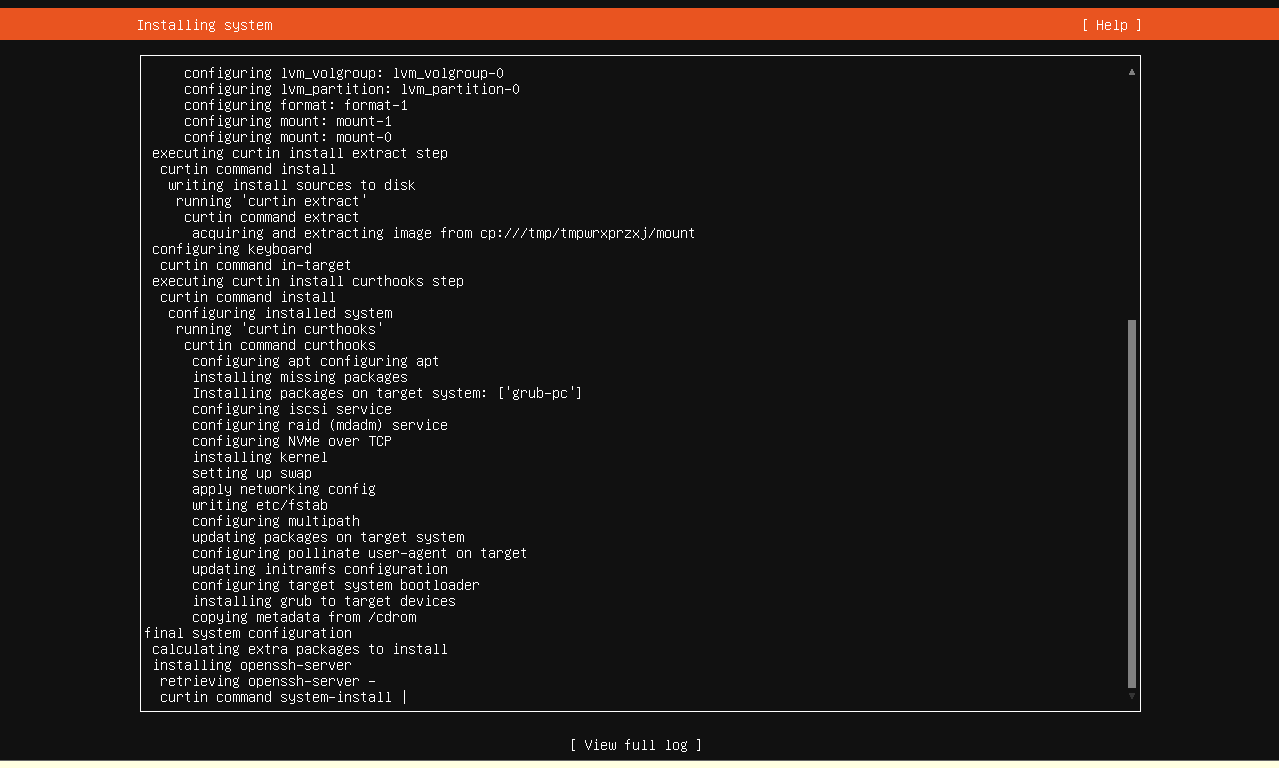
2.1.15 系统自动执行安装
等待进度结束,点击重启即可。
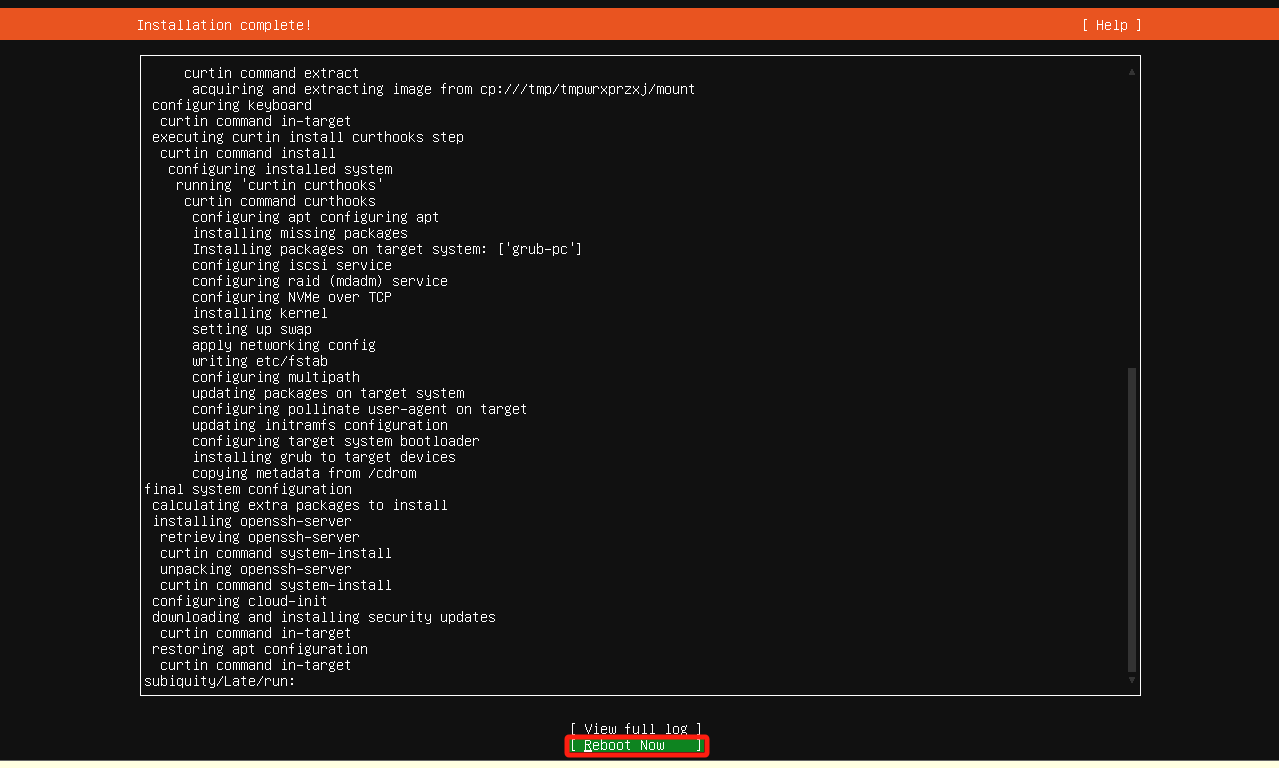
2.1.16 重启
点击重启,等待服务器自动重启。
2.1.17 登录系统
输入先前自己设置的用户名与密码。密码为不可见状态,输入完直接enter。
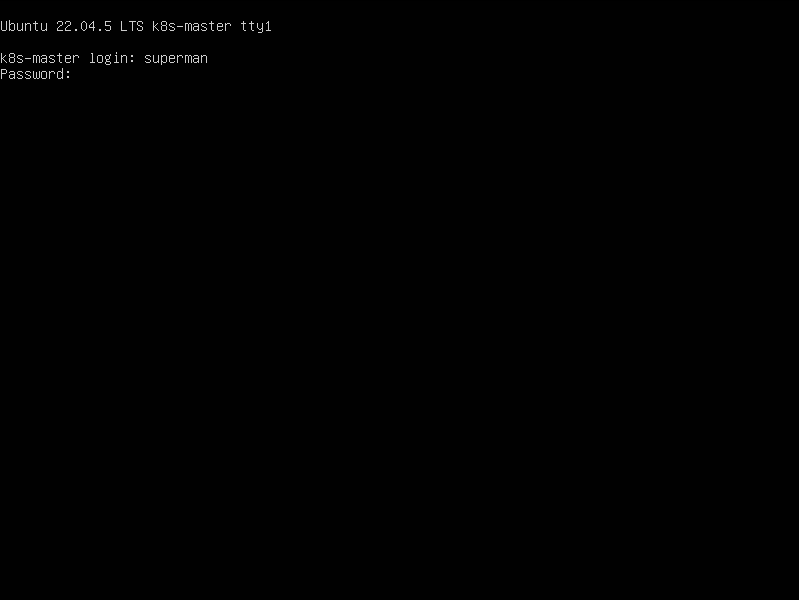
2.1.18 进入系统
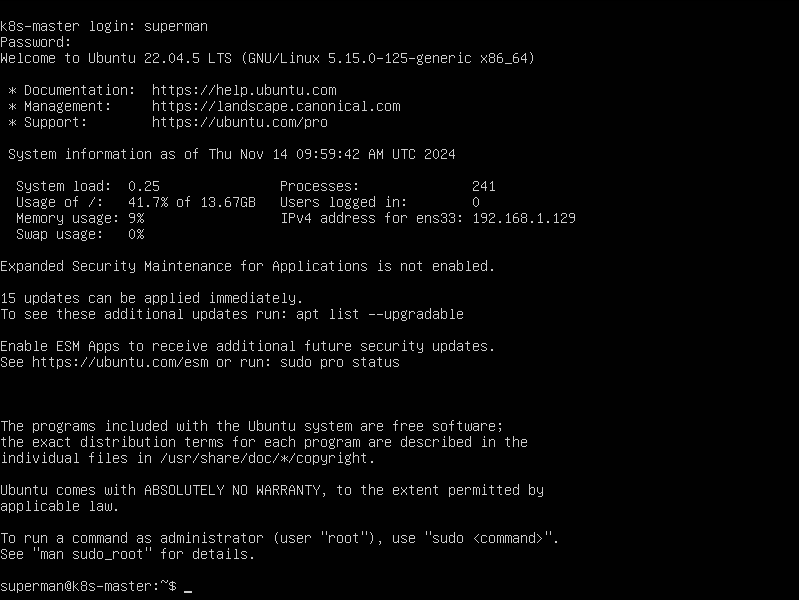
三、系统设置
进入系统后可使用ip add命令查看现有ip与网卡名称,再通过终端工具连接,我使用securecrt进行连接。
3.1 安装网络管理工具
superman@k8s-master:~$ sudo apt install net-tools
reading package lists... done
building dependency tree... done
reading state information... done
the following new packages will be installed:
  net-tools
0 upgraded, 1 newly installed, 0 to remove and 14 not upgraded.
need to get 204 kb of archives.
after this operation, 819 kb of additional disk space will be used.
get:1 http://cn.archive.ubuntu.com/ubuntu jammy/main amd64 net-tools amd64 1.60+git20181103.0eebece-1ubuntu5 [204 kb]
fetched 204 kb in 1s (256 kb/s)
selecting previously unselected package net-tools.
(reading database ... 74796 files and directories currently installed.)
preparing to unpack .../net-tools_1.60+git20181103.0eebece-1ubuntu5_amd64.deb ...
unpacking net-tools (1.60+git20181103.0eebece-1ubuntu5) ...
setting up net-tools (1.60+git20181103.0eebece-1ubuntu5) ...
processing triggers for man-db (2.10.2-1) ...
scanning processes...
scanning linux images...

running kernel seems to be up-to-date.

no services need to be restarted.

no containers need to be restarted.

no user sessions are running outdated binaries.

no vm guests are running outdated hypervisor (qemu) binaries on this host.
superman@k8s-master:~$
3.2 配置ip
3.2.1 进入到/etc/netplan/
superman@k8s-master:~$ cd /etc/netplan/
superman@k8s-master:/etc/netplan$
superman@k8s-master:/etc/netplan$ ls
50-cloud-init.yaml
superman@k8s-master:/etc/netplan$
3.2.2 备份网卡配置文件
此目录下有一个为.yaml的文件,此文件为网卡配置文件,修改现有配置文件名称为.bak如:50-cloud-init.yaml修改为50-cloud-init.yaml.bak
superman@k8s-master:/etc/netplan$ sudo mv 50-cloud-init.yaml 50-cloud-init.yaml.bak
[sudo] password for superman:
superman@k8s-master:/etc/netplan$
3.2.3 查看网卡别名
superman@k8s-master:/etc/netplan$ ifconfig
ens33: flags=4163<up,broadcast,running,multicast>  mtu 1500
        inet 192.168.1.129  netmask 255.255.255.0  broadcast 192.168.1.255
        inet6 fe80::20c:29ff:fe1b:4d1  prefixlen 64  scopeid 0x20<link>
        ether 00:0c:29:1b:04:d1  txqueuelen 1000  (ethernet)
        rx packets 2089  bytes 732805 (732.8 kb)
        rx errors 0  dropped 0  overruns 0  frame 0
        tx packets 1371  bytes 248989 (248.9 kb)
        tx errors 0  dropped 0 overruns 0  carrier 0  collisions 0

lo: flags=73<up,loopback,running>  mtu 65536
        inet 127.0.0.1  netmask 255.0.0.0
        inet6 ::1  prefixlen 128  scopeid 0x10<host>
        loop  txqueuelen 1000  (local loopback)
        rx packets 200  bytes 16264 (16.2 kb)
        rx errors 0  dropped 0  overruns 0  frame 0
        tx packets 200  bytes 16264 (16.2 kb)
        tx errors 0  dropped 0 overruns 0  carrier 0  collisions 0

superman@k8s-master:/etc/netplan$
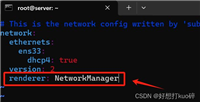
3.2.4 修改网卡配置文件
superman@k8s-master:/etc/netplan$ sudo vim 01-netcfg.yaml
network:
  version: 2
  renderer: networkd
  ethernets:
    ens33:
      dhcp4: no
      addresses:
        - 192.168.1.131/24
      gateway4: 192.168.1.1
      nameservers:
        addresses: [202.102.224.68,202.102.227.68]
保存退出–先按一下esc,然后输入“:wq”点击“enter”。
说明:
ens33 —为服务器的网卡名称。
192.168.1.131/24 —为此台服务器的ip/子网掩码。
gateway4: 192.168.1.1 —网关。
addresses: [202.102.224.68,202.102.227.68] —是dns,不需要连外网可以不设。
3.2.5 重启网卡
superman@k8s-master:/etc/netplan$ sudo netplan apply

** (generate:2340): warning **: 11:02:18.289: permissions for /etc/netplan/01-netcfg.yaml are too open. netplan configuration should not be accessible by others.

** (generate:2340): warning **: 11:02:18.289: `gateway4` has been deprecated, use default routes instead.
see the 'default routes' section of the documentation for more details.
warning:root:cannot call open vswitch: ovsdb-server.service is not running.

** (process:2338): warning **: 11:02:18.709: permissions for /etc/netplan/01-netcfg.yaml are too open. netplan configuration should not be accessible by others.

** (process:2338): warning **: 11:02:18.709: `gateway4` has been deprecated, use default routes instead.
see the 'default routes' section of the documentation for more details.

** (process:2338): warning **: 11:02:19.022: permissions for /etc/netplan/01-netcfg.yaml are too open. netplan configuration should not be accessible by others.

** (process:2338): warning **: 11:02:19.022: `gateway4` has been deprecated, use default routes instead.
see the 'default routes' section of the documentation for more details.
superman@k8s-master:/etc/netplan$
superman@k8s-master:/etc/netplan$ ifconfig -a
ens33: flags=4163<up,broadcast,running,multicast>  mtu 1500
        inet 192.168.1.131  netmask 255.255.255.0  broadcast 192.168.1.255
        inet6 fe80::20c:29ff:fe1b:4d1  prefixlen 64  scopeid 0x20<link>
        ether 00:0c:29:1b:04:d1  txqueuelen 1000  (ethernet)
        rx packets 6208  bytes 1186753 (1.1 mb)
        rx errors 0  dropped 0  overruns 0  frame 0
        tx packets 4710  bytes 932202 (932.2 kb)
        tx errors 0  dropped 0 overruns 0  carrier 0  collisions 0

lo: flags=73<up,loopback,running>  mtu 65536
        inet 127.0.0.1  netmask 255.0.0.0
        inet6 ::1  prefixlen 128  scopeid 0x10<host>
        loop  txqueuelen 1000  (local loopback)
        rx packets 200  bytes 16264 (16.2 kb)
        rx errors 0  dropped 0  overruns 0  frame 0
        tx packets 200  bytes 16264 (16.2 kb)
        tx errors 0  dropped 0 overruns 0  carrier 0  collisions 0

superman@k8s-master:~$
3.3 重启服务器
到此这篇关于ubuntu server 22.04.5 入门篇:详尽安装部署指南的文章就介绍到这了,更多相关ubuntu server安装部署内容请搜索代码网以前的文章或继续浏览下面的相关文章希望大家以后多多支持代码网!
赞 (0)
您想发表意见!!点此发布评论


发表评论