Angular懒加载动态创建显示该模块下声明的组件
340人参与 • 2024-05-19 • AngularJs
环境: angular 13.x.x
angular中支持可以通过路由来懒加载某些页面模块已达到减少首屏尺寸, 提高首屏加载速度的目的. 但是这种通过路由的方式有时候是无法满足需求的.
比如, 点击一个按钮后显示一行工具栏, 这个工具栏组件我不希望它默认打包进main.js, 而是用户点按钮后动态把组件加载并显示出来.
那为什么要动态加载呢? 如果直接在目标页面组件引入工具栏组件, 那么工具栏组件中的代码就会被打包进目标页面组件所在的模块, 这会导致目标页面组件所在的模块生成的js体积变大; 通过动态懒加载的方式, 可以让工具栏组件只在用户点了按钮后再加载, 这样就可以达到减少首屏尺寸的目的.
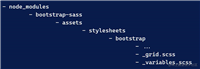
新建一个angular项目
为了演示, 新建一个angular项目, 然后再新建一个toolbarmodule, 项目的目录结构如图

为了达到演示的目的, 我在toolbarmodule的html模板中放了个将近1m的base64图片, 然后直接在appmodule中引用toolbarmodule, 然后执行ng build, 执行结果如图

可以看到打包尺寸到达了1.42mb, 也就是说用户每次刷新这个页面, 不管用户有没有点击显示工具栏按钮, 工具栏组件相关的内容都会被加载出来, 这造成了资源的浪费, 所以下面将toolbarmodule从appmodule的imports声明中移除, 然后在用户点击首次点击显示时懒加载工具栏组件.
懒加载工具栏组件
首先, 新建一个toolbarmodule和toolbarcomponent, 并在toolbarmodule声明toolbarcomponent

toolbar.module.ts
import { ngmodule } from '@angular/core';
import { commonmodule } from '@angular/common';
import { toolbarcomponent } from './toolbar.component';
@ngmodule({
    declarations: [toolbarcomponent],
    imports: [commonmodule],
    exports: [toolbarcomponent],
})
class toolbarmodule {}
export { toolbarcomponent, toolbarmodule };
toolbar.component.ts
import { component, oninit } from '@angular/core';
@component({
    selector: 'toolbar',
    templateurl: './toolbar.component.html',
    styles: [
        `
    svg {
      width: 64px;
      height: 64px;
    }
    img {
      width: 64px;
      height: 64px;
      object-fit: cover;
    }
    `,
    ],
})
export class toolbarcomponent implements oninit {
    constructor() {}
    ngoninit(): void {}
}
toolbar.component.html
<div class="flex">
  <svg t="1652618923451" class="icon" viewbox="0 0 1024 1024" version="1.1" xmlns="http://www.w3.org/2000/svg" p-id="2104" width="200" height="200"><path d="m412 618m-348 0a348 348 0 1 0 696 0 348 348 0 1 0-696 0z" fill="#c9f4eb" p-id="2105"></path><path d="m673.19 393h-333a25 25 0 0 1 0-50h333a25 25 0 0 1 0 50zm600.89 235h423.11c367.91 235 323 190.28 323 135.32v-12.5a25 25 0 0 1 50 0v12.5c0 27.39 22.48 49.68 50.11 49.68h177.78c27.63 0 50.11-22.29 50.11-49.68v-16.5a25 25 0 1 1 50 0v16.5c0 54.96-44.91 99.68-100.11 99.68zm673.19 585.5h-333a25 25 0 0 1 0-50h333a25 25 0 0 1 0 50zm467 778h340a25 25 0 0 1 0-50h127a25 25 0 0 1 0 50z" fill="#087e6a" p-id="2106"></path><path d="m739.76 952h273.62a125.14 125.14 0 0 1-125-125v197a125.14 125.14 0 0 1 125-125h466.14a125.14 125.14 0 0 1 125 125v630a125.14 125.14 0 0 1-125 125zm273.62 122a75.08 75.08 0 0 0-75 75v630a75.08 75.08 0 0 0 75 75h466.14a75.08 75.08 0 0 0 75-75v197a75.08 75.08 0 0 0-75-75z" fill="#087e6a" p-id="2107"></path></svg>
  <svg t="1652618941842"
       class="icon"
       viewbox="0 0 1024 1024"
       version="1.1"
       xmlns="http://www.w3.org/2000/svg"
       p-id="2247"
       width="200"
       height="200">
    <path d="m415 624m-348 0a348 348 0 1 0 696 0 348 348 0 1 0-696 0z"
          fill="#c9f4eb"
          p-id="2248"></path>
    <path d="m695 790h362a25 25 0 0 1 0-50h333a25 25 0 0 1 0 50zm583 649h362a25 25 0 0 1 0-50h221a25 25 0 0 1 0 50zm262 287h129a25 25 0 0 1 0-50h133a25 25 0 0 1 0 50zm262 455.33h129a25 25 0 1 1 0-50h133a25 25 0 0 1 0 50zm262 623.67h129a25 25 0 0 1 0-50h133a25 25 0 0 1 0 50zm262 792h129a25 25 0 0 1 0-50h133a25 25 0 0 1 0 50z"
          fill="#087e6a"
          p-id="2249"></path>
    <path d="m761.76 964h295.62a125.14 125.14 0 0 1-125-125v209a125.14 125.14 0 0 1 125-125h466.14a125.14 125.14 0 0 1 125 125v630a125.14 125.14 0 0 1-125 125zm295.62 134a75.09 75.09 0 0 0-75 75v630a75.08 75.08 0 0 0 75 75h466.14a75.08 75.08 0 0 0 75-75v209a75.09 75.09 0 0 0-75-75z"
          fill="#087e6a"
          p-id="2250"></path>
    <path d="m617 376h443a25 25 0 0 1 0-50h174a25 25 0 0 1 0 50z"
          fill="#087e6a"
          p-id="2251"></path>
    <path d="m530 463a25 25 0 0 1-25-25v264a25 25 0 0 1 50 0v174a25 25 0 0 1-25 25z"
          fill="#087e6a"
          p-id="2252"></path>
  </svg>
  <img src="<这里应该是一张大小将近1m的base64图片, 内容较大, 就略去了...>" alt="">
</div>
然后再appcomponent的中按钮点击事件处理程序中写加载工具栏模块的代码:
app.component.ts
import { component, createngmoduleref, injector, viewchild, viewcontainerref } from '@angular/core';
@component({
    selector: 'root',
    template: `
               <div class="container h-screen flex items-center flex-col w-100 justify-center">
                 <div class="mb-3"
                      [ngclass]="{ hidden: !istoolbarvisible }">
                   <ng-container #toolbar></ng-container>
                 </div>
                 <div>
                   <button (click)="toggletoolbarvisibility()"
                           class="bg-blue-500 hover:bg-blue-700 text-white font-bold py-2 px-4 rounded">{{ istoolbarvisible ? '隐藏' : '显示' }}</button>
                   <p class="mt-3">首屏内容</p>
                 </div>
               </div>
             `,
})
export class appcomponent {
    title = 'ngx-lazy-load-demo';
    toolbarloaded = false;
    istoolbarvisible = false;
    @viewchild('toolbar', { read: viewcontainerref }) toolbarviewref!: viewcontainerref;
    constructor(private _injector: injector) {}
    toggletoolbarvisibility() {
        this.istoolbarvisible = !this.istoolbarvisible;
        this.loadtoolbarmodule().then();
    }
    private async loadtoolbarmodule() {
        if (this.toolbarloaded) return;
        this.toolbarloaded = true;
        const { toolbarmodule, toolbarcomponent } = await import('./toolbar/toolbar.module');
        const moduleref = createngmoduleref(toolbarmodule, this._injector);
        const { injector } = moduleref;
        const componentref = this.toolbarviewref.createcomponent(toolbarcomponent, {
            injector,
            ngmoduleref: moduleref,
        });
    }
}
关键在于其中的第32-42行, 首先通过一个动态import导入toolbar.module.ts中的模块, 然后调用createngmoduleref并传入当前组件的injector作为toolbarmodule的父级injector, 这样就实例化了toolbarmodule得到了moduleref对象, 最后就是调用html模板中声明的<ng-container #toolbar></ng-container>的viewcontainerref对象的createcomponent方法创建toolbarcomponent组件
private async loadtoolbarmodule() {
    if (this.toolbarloaded) return;
    this.toolbarloaded = true;
    const { toolbarmodule, toolbarcomponent } = await import('./toolbar/toolbar.module');
    const moduleref = createngmoduleref(toolbarmodule, this._injector);
    const { injector } = moduleref;
    const componentref = this.toolbarviewref.createcomponent(toolbarcomponent, {
        injector,
        ngmoduleref: moduleref,
    });
}
此时再来看下这番操作后执行ng build打包的尺寸大小
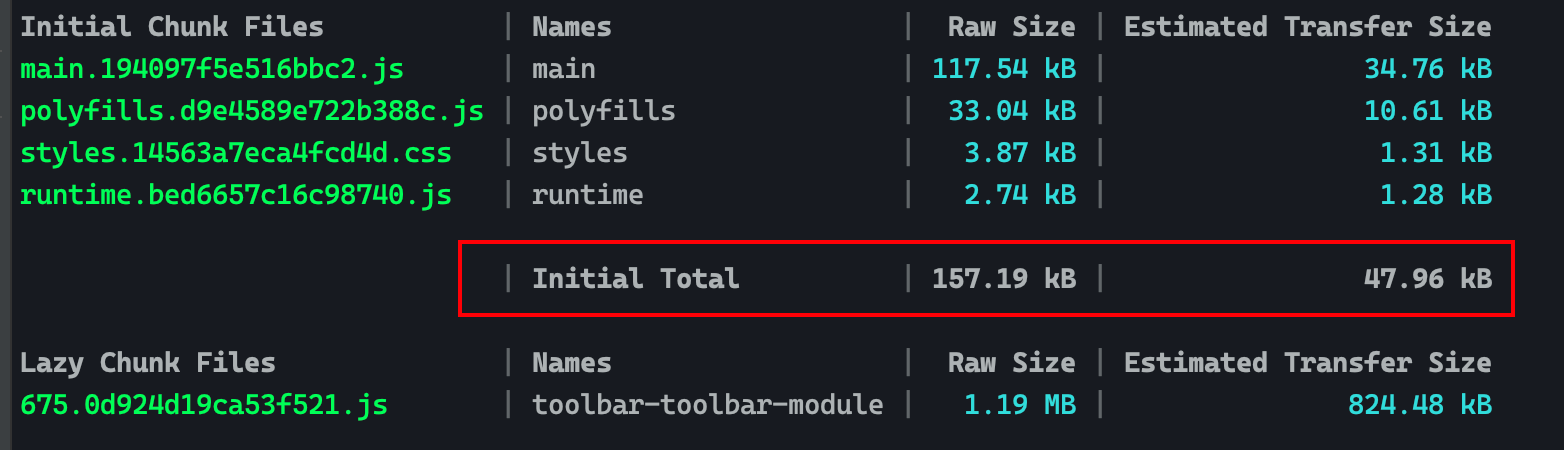
可以看到首屏尺寸没有开头那么离谱了, 原因是没有在appmodule和appcomponent直接导入toolbarmodule和toolbarcomponent,toolbarmodule被打进了另外的js文件中(lazy chunk files), 当首次点击显示按钮时, 就会加载这个包含toolbarmodule的js文件
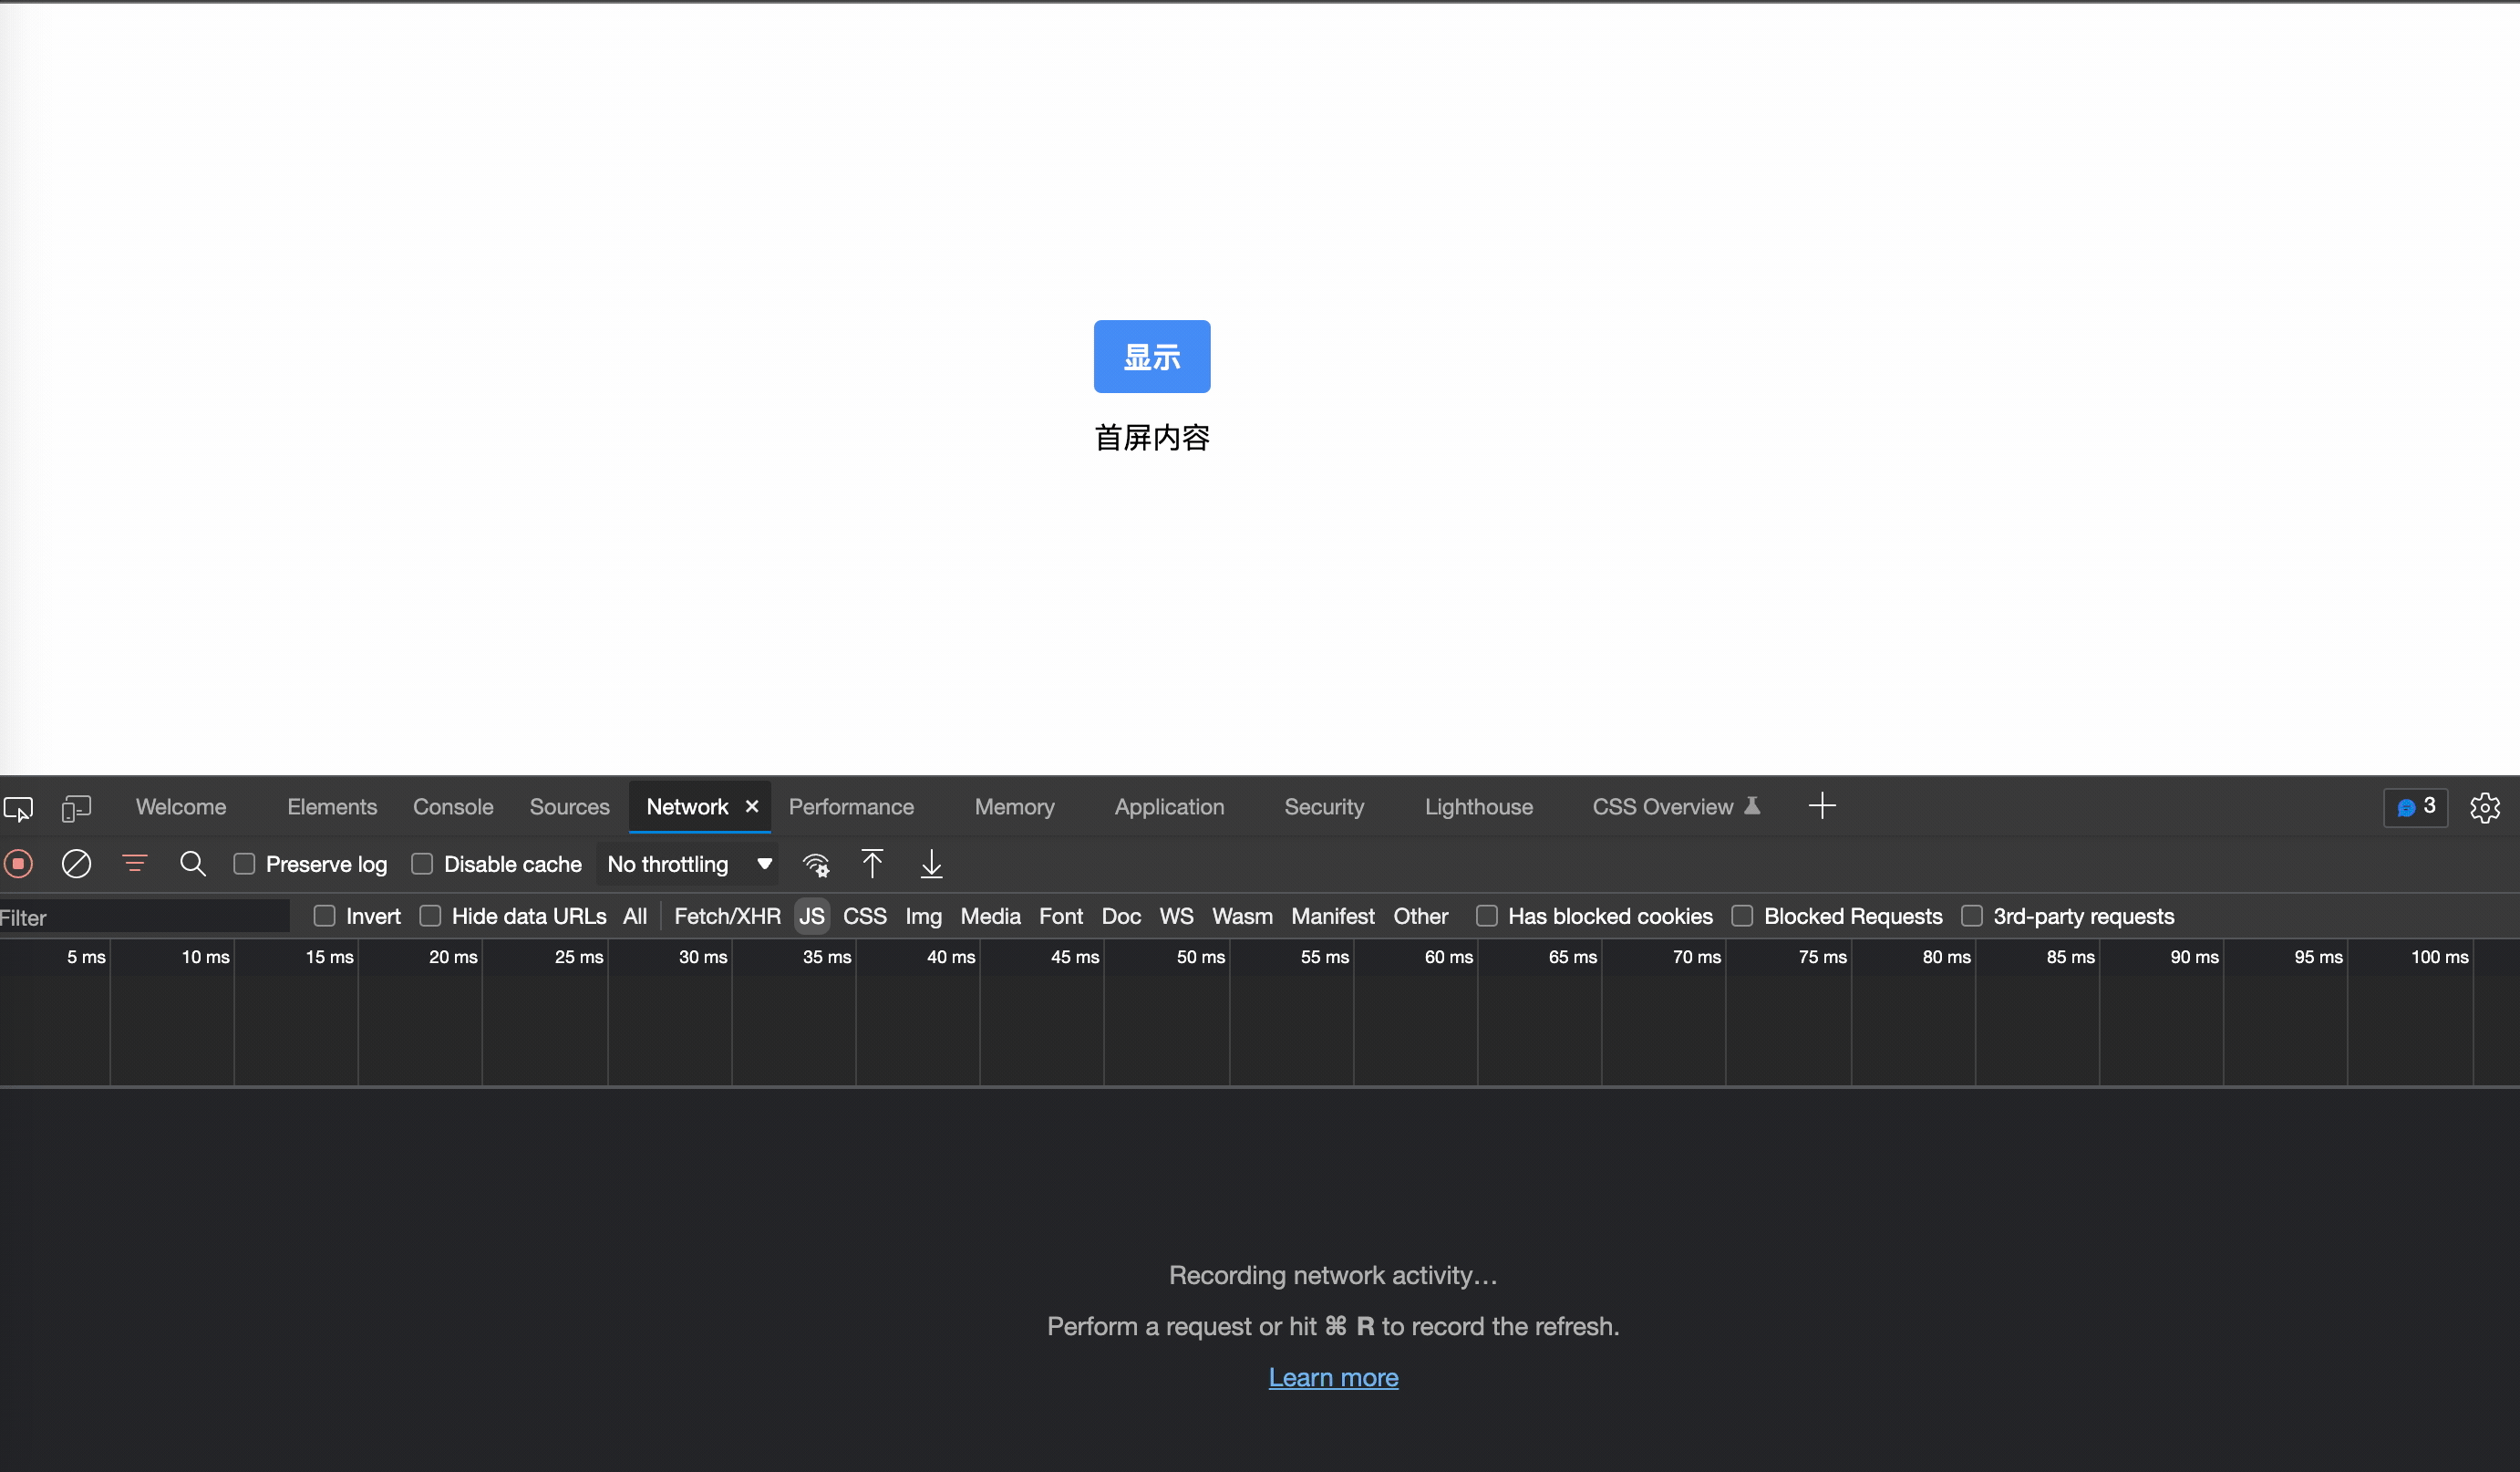
注意看下面的gif演示中, 首次点击显示按钮, 浏览器网络调试工具中会多出一个对src_app_toolbar_toolbar_module_ts.js文件的请求
以上就是angular懒加载动态创建显示该模块下声明的组件的详细内容,更多关于angular懒加载动态声明组件的资料请关注代码网其它相关文章!
赞 (0)
您想发表意见!!点此发布评论


发表评论